
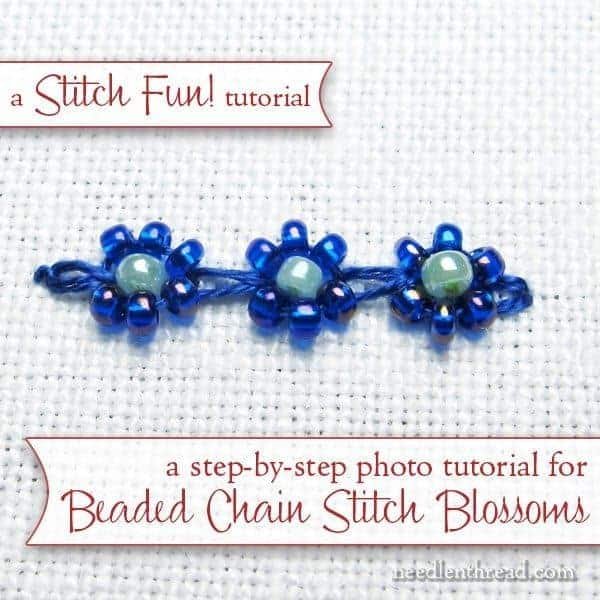
Today, a little Stitch Fun!
Remember a couple weeks ago when we looked at adding beads to embroidery stitches?
Well, here’s a little follow-up tutorial for a cute little line of beaded chain stitches that work up into little round blossoms.
This is a simple technique for embellishing a straight, curved, or undulating line. It’s fun, easy, and quick!
So, let’s get started – I’ll take you step-by-step through how to work a line of beaded chain stitch blossoms.
For this tutorial, I’m working on linen fabric (Alba Maxima linen), using one strand of DMC stranded cotton floss doubled in the needle, a #11 beading needle, and size 11/0 beads.
To double the thread in the needle, thread one end of the floss into the needle and pull it through so that needle is at the halfway point in the thread. You can then knot the ends together.
Doubling the thread like this allows you to use two strands of floss for the stitch, without the tail in the needle. It prevents you from having to pull four strands of floss (two strands and the tail) through the bead.
You can use much smaller beads, too – 15/0 would look great with this technique (but it’s easier to take photos with larger beads).
If you choose to use smaller beads, the number of beads and your stitch length should be proportionate. You might have to test the number of beads and your stitch length until you find the right combination.
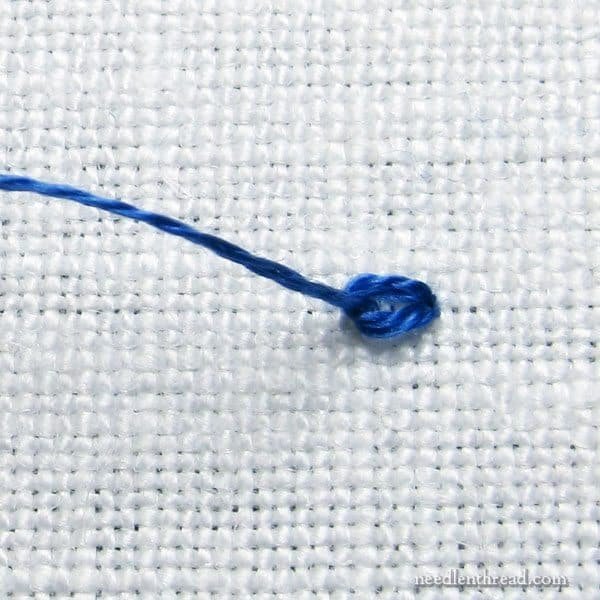
Start the line by working just a plain old chain stitch on the front of the fabric. My chain stitches are about 1/8″ – 3/16″ long.
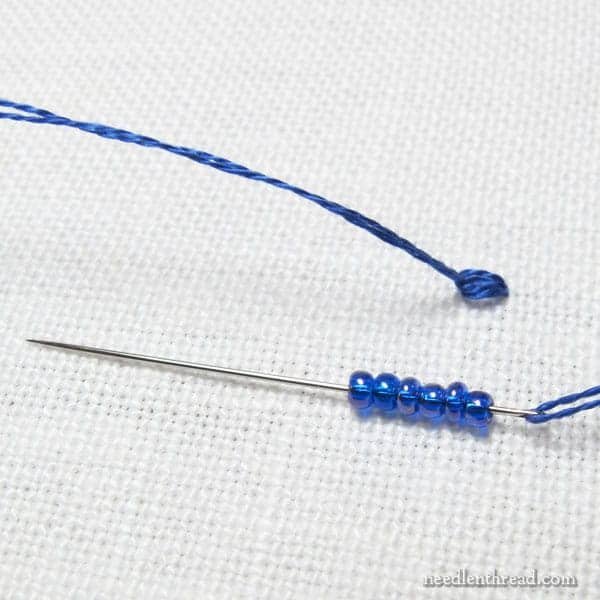
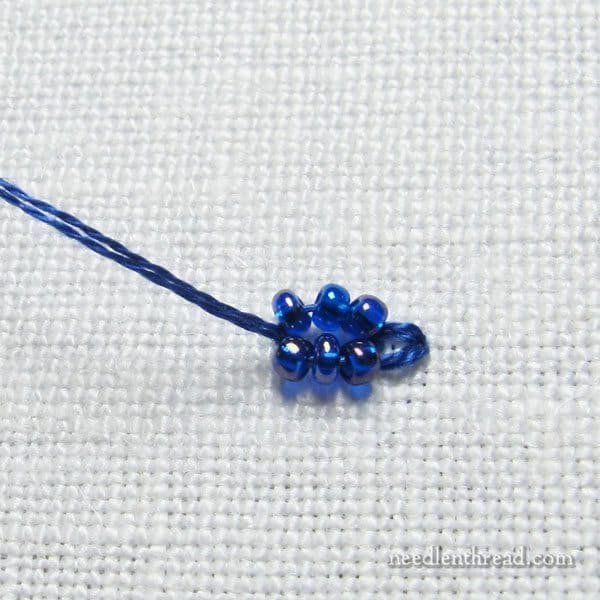
Thread an even number of beads onto the needle, enough to cover the whole loop of the next chain stitch. In this case, with the size beads I’m using and the length of my chain stitch, six beads worked well.

With the beads on the working thread, take the needle back down into the first chain stitch, into the same hole where your needle and thread came to the front, to form the loop of the second chain stitch.
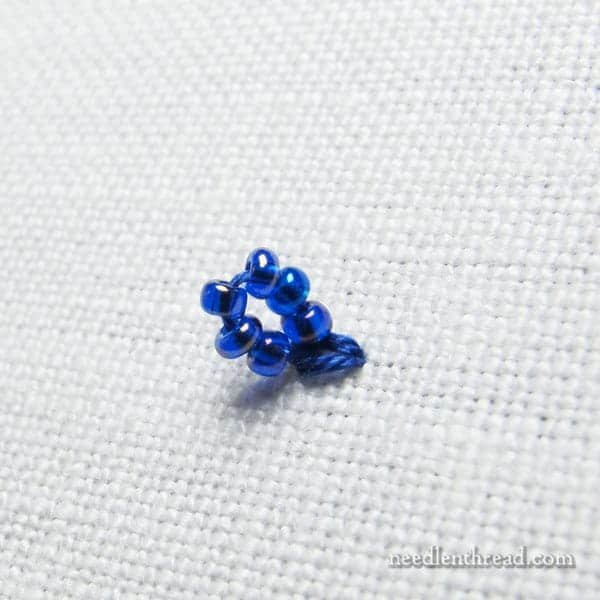
When you pull through to the back, you’ll have a little-beaded loop on the front of your fabric.
Bring the needle and working thread up inside the loop to make it into a chain stitch. You want half the beads on one side of the loop and half the beads on the other, as shown.
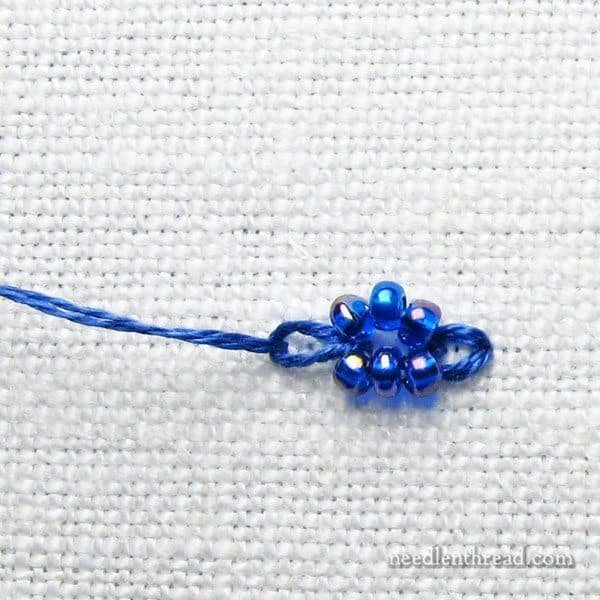
Work a regular chain stitch, sans beads.

Continue working the line, alternating beaded chain stitches with plain chain stitches, until you’ve finished the line. End with a plain chain stitch and work a tiny anchor stitch just over the last chain stitch to secure (the same way you’d end a regular chain stitch line).
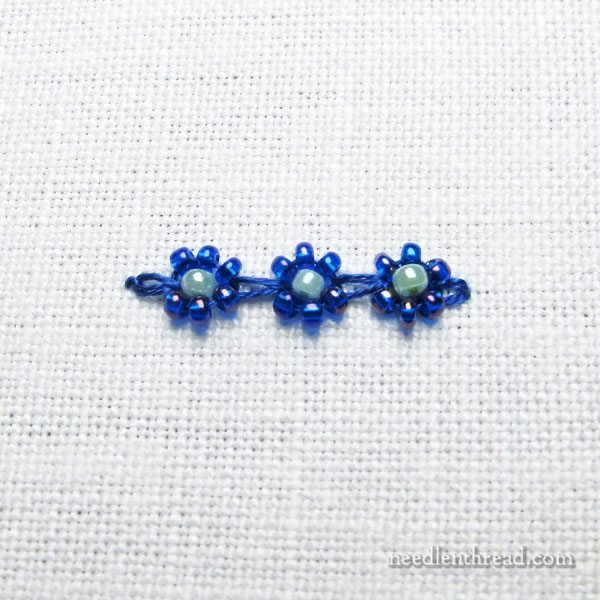
Sew a contrasting color of the bead into the center of each beaded chain stitch, so that each center bead runs horizontally inside the beaded circle, as shown. This bead can be the same size, or larger or smaller than the beads you used the chain stitch, depending on how large you made the original chain stitches. If the chain stitches are small, a large bead won’t fit in the center. If the chain stitches are very large, a smaller bead might be a bit lost in the center. Experiment to see what looks best!
If you really want to bring across the “blossom” look to the line, you could use bead colors that are flower-appropriate with green floss, and then dress up the line with little green leaves, beaded or not.
That’s it! A simple and quick decorative line combining beads and embroidery stitches!
Hope you enjoy it and can find a good use for it!
courtesy: needlenthread