
A beautiful package for a gift is never superfluous and in today’s master class I will show and tell you how I did a gift box for a ringlet. I wanted to do something light, complementing the decoration itself, combined with it.

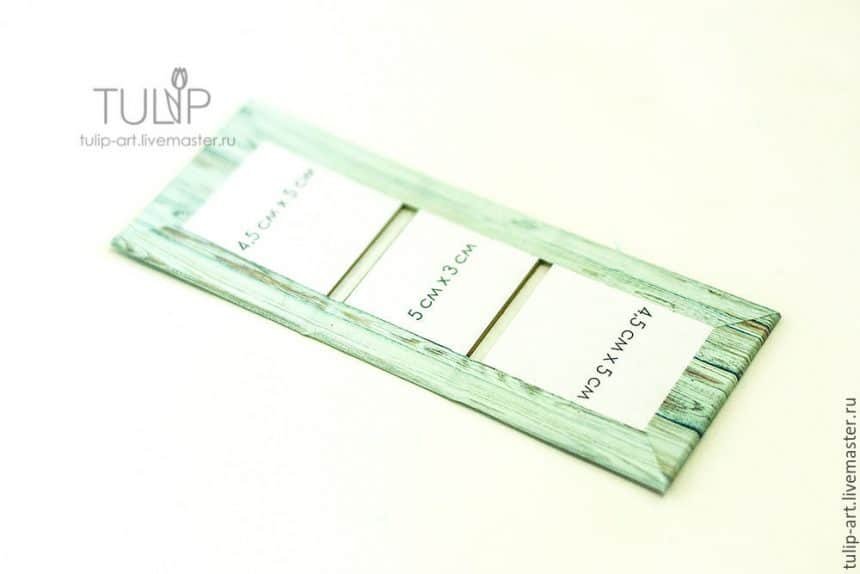
For the production of the box, I prepared a ready template for printing on A 4, with the help of which the work will be easy and pleasant, and the result will please.

Layouts are created by me for personal use by everyone, I ask not to use them for commercial purposes, and when copying this material, specify a direct link to the source.
For work we will need:
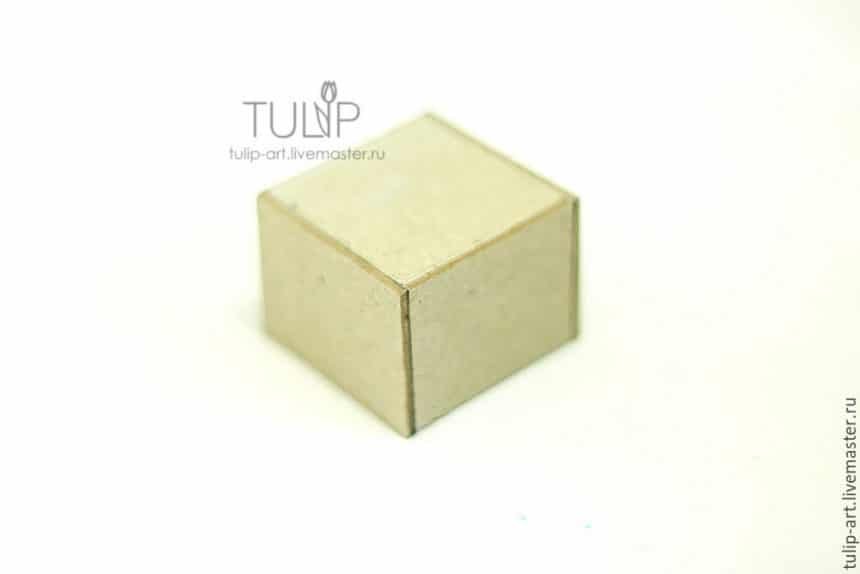
1. Binding cardboard 2 mm thick, enough for about 1/4 sheet A 4.
2. The template printed on the printer. You can print on plain paper or self-adhesive. This issue is not principled, the self-adhesive will simply speed up the work somewhat and will save you from unnecessary fuss with glue.
3. Ordinary clerical glue, PVA in pencil, Moment-Crystal or any other.
4. Metal ruler and construction, mock-up or clerical knife, scissors.
5. Decorative elements – 2-3 bradsa, corners, satin ribbon.
I apologize for the quality of the photo, today it is somewhat lower than usual, it just so happened.

We cut off the part with the details of the box from the printed sheet and paste it on the bound cardboard.

Cut out all the details with a knife and ruler. Details can be divided into three groups: for the manufacture of the box itself, for the “cover” and for the lid.
Take the details for the box and gently glue with glue, matching the corresponding sides in sizes.

The finished box should turn out even and neat.

Again, take a sheet-printout and cut out the remaining parts for pasting the box.
We begin the pasting.
Sequentially glue all sides, bend the inner edges of the upper edges.

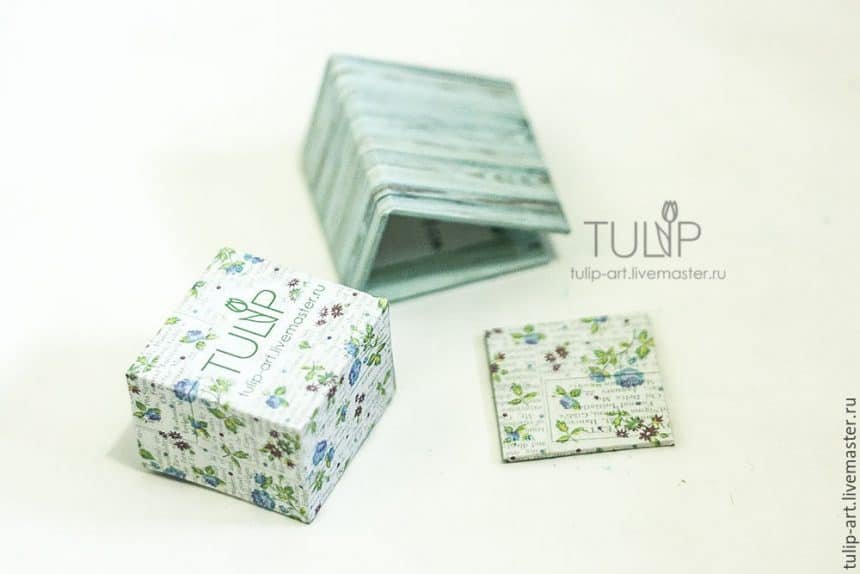
Now take the parts for the inside.

And we paste them a box from the inside.


Similarly, cover the cap.

Now we’ll cover the cover. We take cardboard parts and paste them on a paper sticker with a wooden texture.

Bend the edges to the inside.
All the details are covered, you can collect everything together.
Before the final assembly, we paste the tape on the cover.

We paste the birochka, fix all the brads in several places.
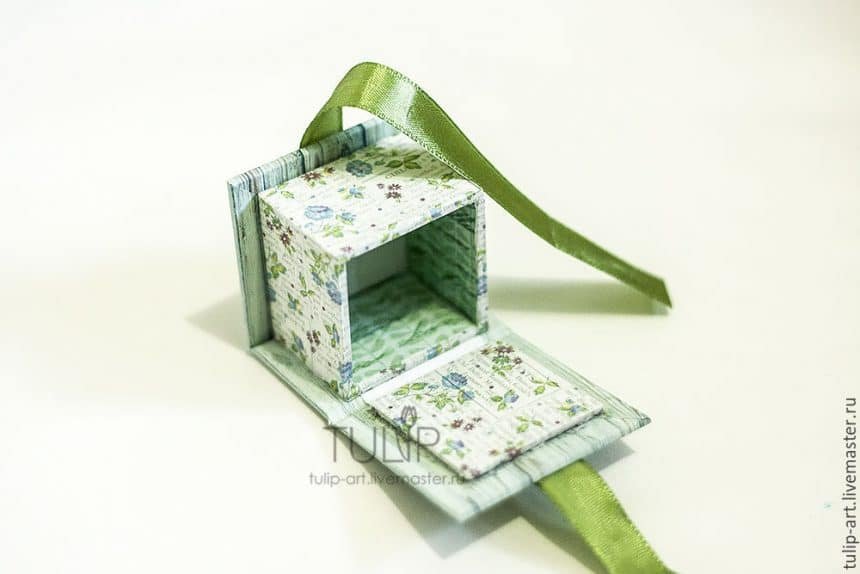
Now we paste the box and the lid into the cover.

The last step remains – take the remaining part, which will hold the ringlet and add up, as shown in the photo.

We paste the part inside the box.

If desired, you can add metal corners.
All is ready! You can pack a gift
courtesy: livemaster