
In this photo-lesson, techniques are used for such types of embroidery as embroidery with a smooth and volumetric embroidery using a backing.
The name of the Anahata pendant is symbolic. In the Hindu spiritual tradition, “Anahata” is one of the charkas (human energy centers). It has a green color and is responsible for devotion, love, compassion, empathy, joy, and kindness.

For work you will need:
The basis for embroidery with beads (here I use a hard thin felt)
Soft thin felt for creating a backing. One piece of felt should be in tone with beads, which is lined with smooth surface on the product
One twill 12mm
Beads delicacy 11 size
Round beads 15 sizes Miyuki or Toho
Beads Drops size 3-4mm
One pin with a ringlet
One bale for hanging a pendant
Strong embroidery beads and simple sewing threads
Glue (I use German glue Stanger)
Ruler-stencil with circles. You can use a compass
A piece of natural or artificial leather or suede
Scissors thin and sharp, scissors for trimming threads
Needles for beads
Round nose pliers or Nippers if required
Pencil, tissue marker


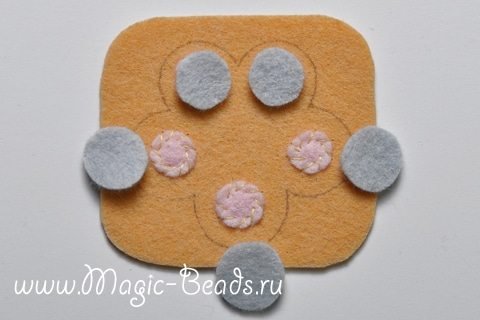
1. To create a flower, I build a pattern using a stencil with circles. (See figure) Diameter in millimeters is indicated in each circle. Center 14 mm, bottom 19 mm, bottom right and left 18 mm, top right and left 16 mm. I like an asymmetric flower. Make a pattern on a thick paper, such as Whatman paper or watercolor paper. Then this density is useful. Cut out the resulting flour.

Transfer the pattern to the base for embroidery. I use a simple pencil for this. If the base is black, then I use a pencil for artists of Siena light.

To create volumetric embroidery with beads, a substrate is used. I make a substrate from a soft felt in several stages. The substrate for this size will be four-layer. For clarity, I use color felt. The first layer, pink – is a small mug made of felt, the second, gray – mugs larger by 2 mm, the third, yellowish, even 2-3 mm more, and the fourth, green – this will be a flower pattern with a small allowance of 2 mm relative to the original.
Estimate the size of the circles from each other in relation to each other, to start in the first layer (pink color). The largest circle, from below, is about 6-7 mm in diameter. Others will be slightly smaller, as the petals of a flower of different diameters.

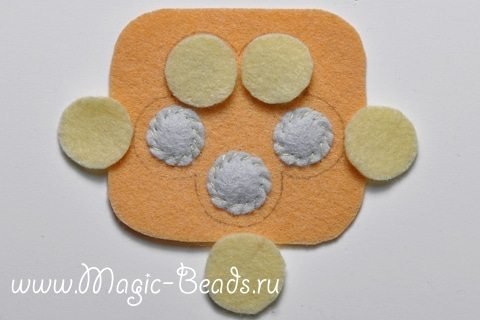
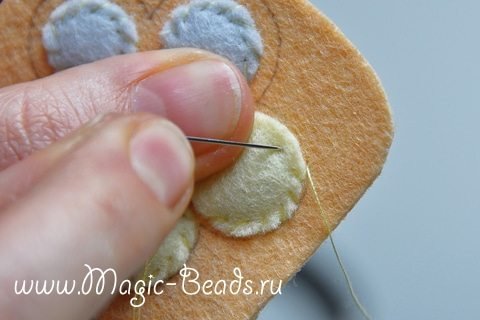
Each circle is sewn to each center of the petals of the flower. The stitches should be “oblique” (see photo) and directed from the outside to the inside. This is to ensure that the substrate is denser and more evenly attached to the substrate. When sewing, conventional sewing thread is used.


Sew the second layer from the circles (gray). The stitches are the same “oblique”. Do not use glue to create backing layers. Frozen glue between layers will not allow further piercing layers with a needle, and the substrate will be uneven.

Sew the third layer from the circles (yellowish). Stitches are oblique, from the periphery to the center.

When the substrates for the petals are created, create a groove for the Rivoli with a small felt ring. How to sew a ringlet – see the photo.


The created substrates are covered with a flower pattern slightly enlarged by 1-2 mm, considering the volume. The green layer is also sewn with oblique stitches from the periphery to the center.


When the outline of the flower is sheathed, make a pair of stitches to separate the petals.

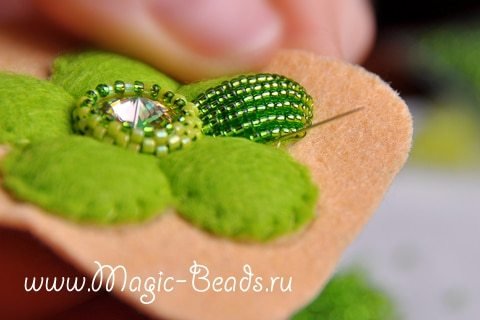
2. Intertwining the Rivoli. Rivoli we put in the center of a flower in a place where the ring is sewn inside. When we trim the Rivoli, it must always be pressed down with a finger at the base.

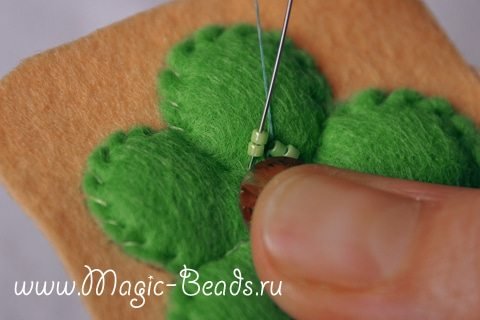
We sew the contour of the Rivoli next to Delik beads 11 number so that in the end an even number of beads are sewn. Sew it this way: we collect on the needle 2 beads and together with them we make a stitch forward along the contour of the Rivoli, equal to the length of two beads.
The next stitch from the underside is obviously done by removing the needle between two beads. Then we deduce the deduced needle to the last bead forward in the course of work. Again, dial two beads and repeat the course of work. The row may look crooked due to the volume of the substrate. This should not be intimidating. The main thing, sew hard.


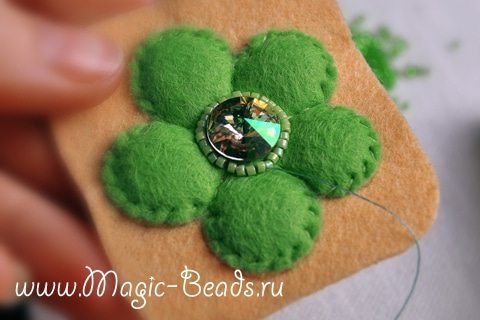
Having finished sheathing circuit Rivoli, we begin to braid mosaic stitch, using beads Delica 11 size.
The third and fourth rows are made with a mosaic stitch, but using 15 round beads already round. It’s enough. Rivoli firmly sits in his “nest”. Fix the thread from the wrong side.

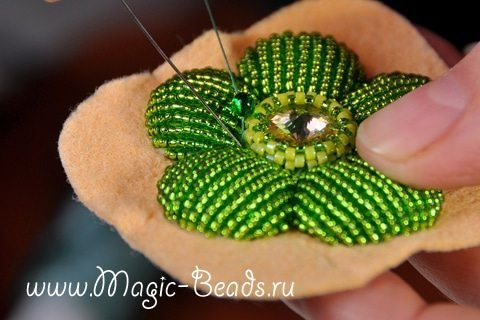
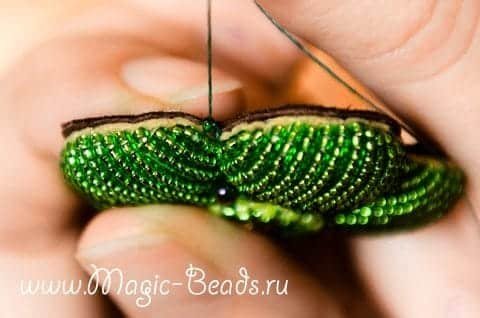
3. A flutter of the petals. To make beads, I use beads of size 15 or smaller. Choose the petal from which we will begin to embroider. Bring the needle from the wrong side to the face, at the base, braided Rivoli, right in the center of the petal.

String on the needle so many beads, so that their number is enough for the bending of the petal from the substrate. Always check, pulling the thread with beads, so that there is no extra bead or lack of it.


Having determined the place for the completion of the stitch with beads, the needle is inserted into the base in a certain way – at an angle from the outside to the center. See the photo! This is an important point. Since, when we cut out the embroidered element, the cut must be very close to the embroidery. When the needle is inserted at an angle, the probability that the thread will be cut is reduced.
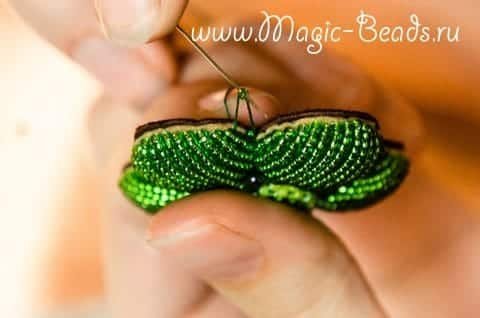
We perform the next stitch of the beaded surface. Pull out the needle for this close from the previous stitch. You can the first line the left side of the petal, then the right side, or vice versa. Measure the number of beads every time. Then the petal will be with an even surface, and its outline is even.


Perform a beaded pat on all the petals, repeating the recommendations. Stitches with beads lie densely, smoothly, evenly. Sew strong, try hard. The very basis for embroidery can be slightly deformed, as we create a three-dimensional element.

Between the petals at the base, braided Rivoli, we saw on the bead-drop (drop). You can use another kind of bread for this purpose, or leave embroidery without them at all.

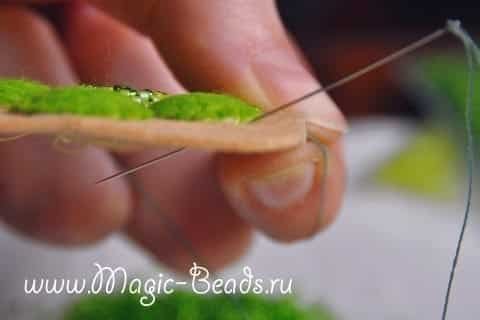
4. Cutting out the embroidered element. My favorite stage. Use thin sharp scissors. I have scissors for pruning threads. Bend the base with your finger and cut it very close to the stitches.
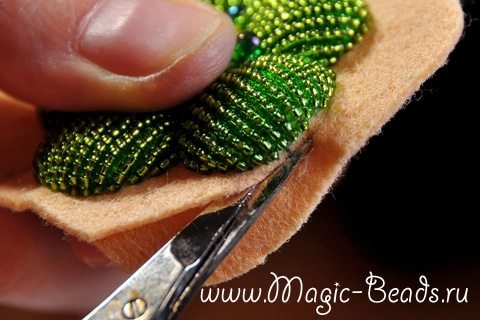
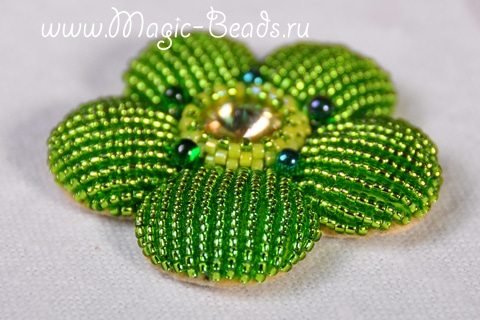
This is how a three-dimensional flower is carved. The base is almost invisible.
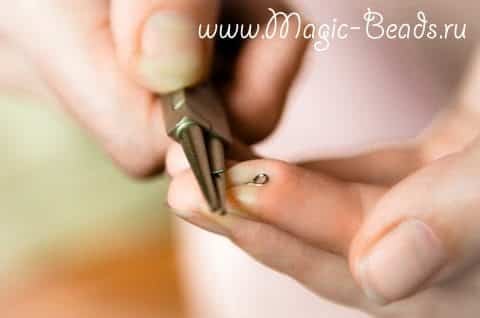
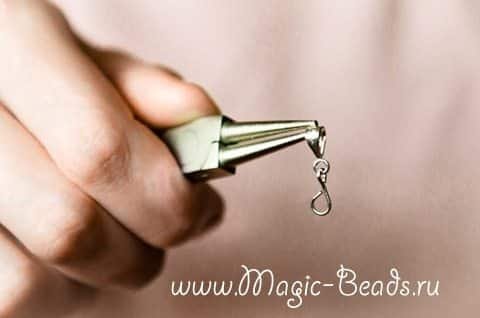
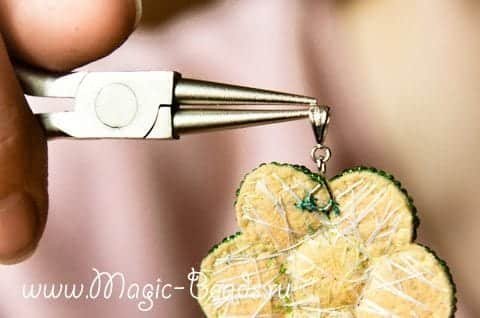
Prepare a fastener for a chain or tape, on which you can hang the pendant.

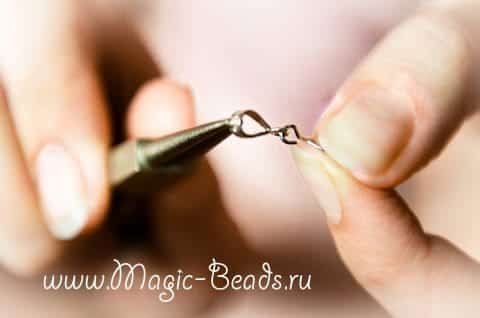
To do this, use a short pin (pin) with a ring. We hang the bale on the ring. A tip of another pin, by means of pliers, bend also in the ring, but it will be positioned in the other perpendicular to, the plane of the ring than the other end.

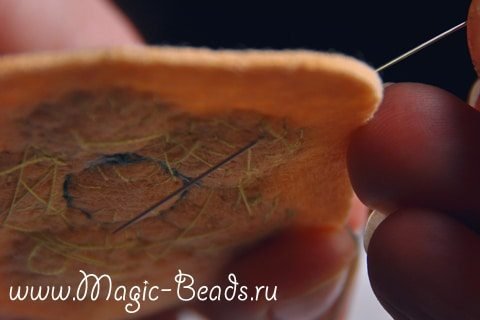
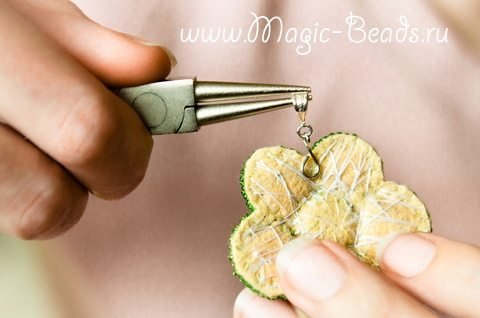
Sew for the free ring attachment to the flower between the two small petals. Stitches are done right through the embroidery, not doubting – they are visible on the surface will not.
5. Registration of the underside. That paper pattern of heavy paper is now useful. Optionally reduce it in size by cutting out along the contour. Now we paste it in the wrong side of the embroidered element.

Inside, I draw here a dark brown thin suede. Lubricate the glue surface of the underside of the embroidered element and attach to a piece of leather. Press and wait until it dries.
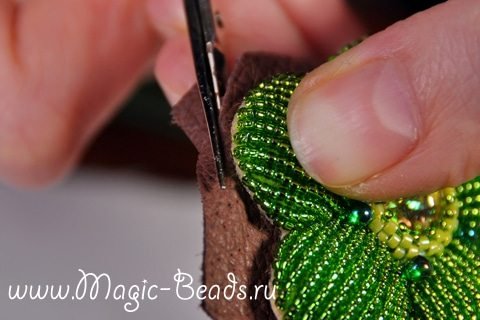
Cut out the skin along the contour of the flower, leaving a small allowance in 1mm. When sewing with beads, this allowance will cover the end face of the embroidery base, and the work will look neat.

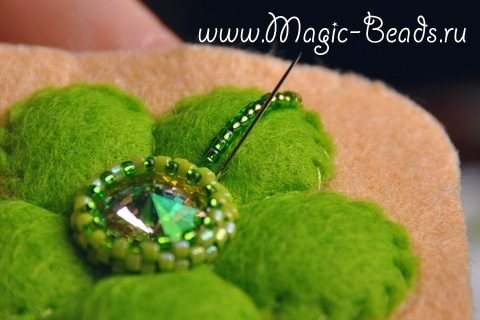
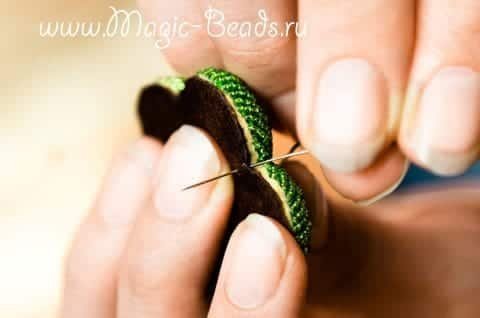
6. Beading is the final stage. Take the thread for embroidering beads of approximately 1 m-1.3 m. The work start of sewings between two petals. We fix the thread in the embroidered element before starting work. Namely, we introduce the needle into the skin (which is the wrong side) from the inside out. From the inside is between the layers of the base for embroidery and the skin. The thread bundle will be hidden between the layers. Now the needle is introduced as early as the basis for embroidery with embroidered face of the element, and drive the needle between the layers without piercing the skin. Tighten the stitch.


For sheathing, round beads are used in round 15 sizes. I chose the same shade, but without internal silvering – just transparent.

After earning a bead on the needle, insert the needle into the base of embroidery with persons close to the very first stitch. And we pass the needle through all the layers. Work progress from right to left.

On a loop a bead. Slide the needle into this bead from left to right. This kind of stitching is called a “brick line in one row.” See the diagram.

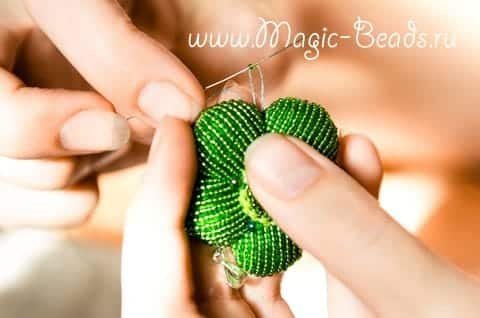


Repeat the stitches along the entire edge of the embroidered element until you meet the beginning. Fix the thread, taking it several times in the embroidery itself. Trim the thread.


The pendant is ready. It remains to hang it on a chain or ribbon. Such embroidered elements can be used to create brooches, earrings or complex designs of ornaments. I wish you creativity with pleasure!
courtesy: magic-beads