
we will see how to make a colorful hexagonal Paper Box which you can keep on your desk top. This attractive box can be used to keep your pens, pencils and other stationary items
Step 1: Cut Paper


Take six pieces of A4 or any size paper in six different colors
Cut a square shape to the maximum size you can get from the papers.
Keep the small pieces cut out from the papers which we will use to insert the folds
Step 2: Fold Paper
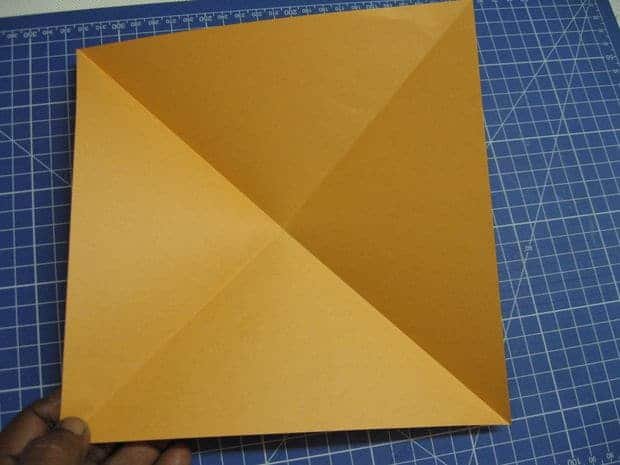


Take one square piece of paper and fold it diagonally on both sides and make crease
Then fold it in half on both sides and then in quarters
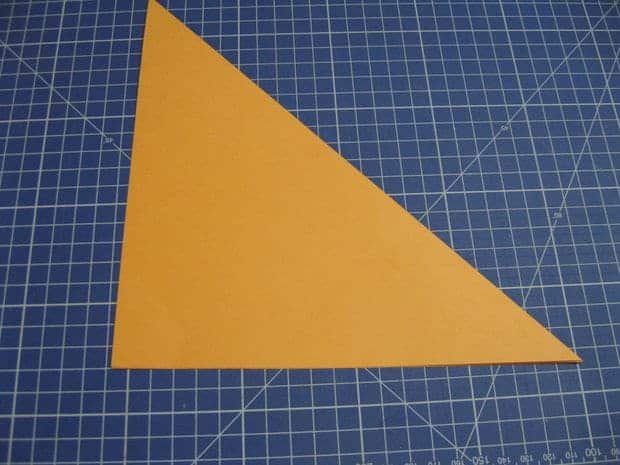
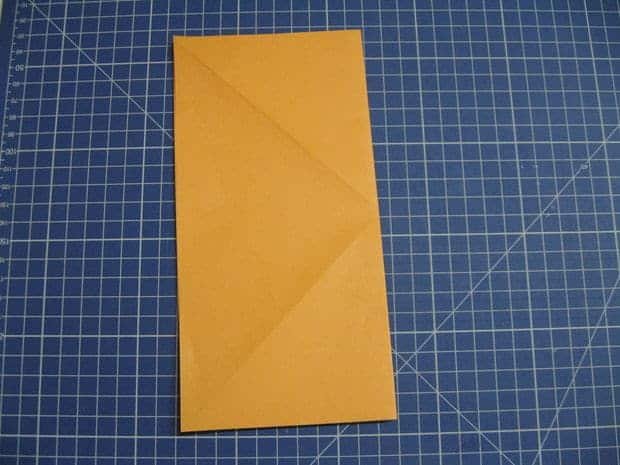
Open the folded paper and fold four corners to triangles as shown
Fold the triangle portions inside and then fold it in half.
Now your piece of paper will look like this in the last picture
Step 3: Cut Insert

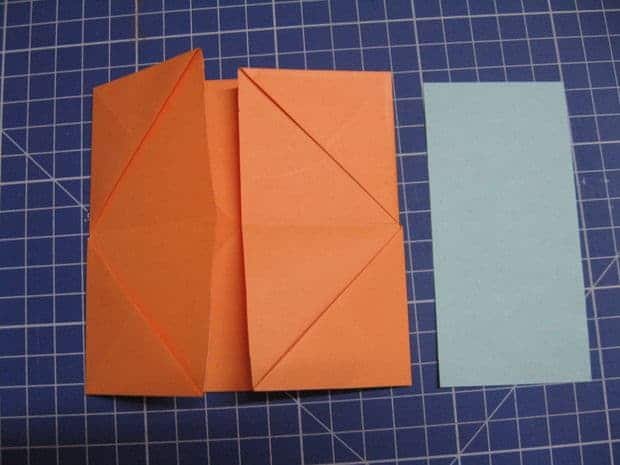

Remember we have kept the cut smaller pieces with all papers
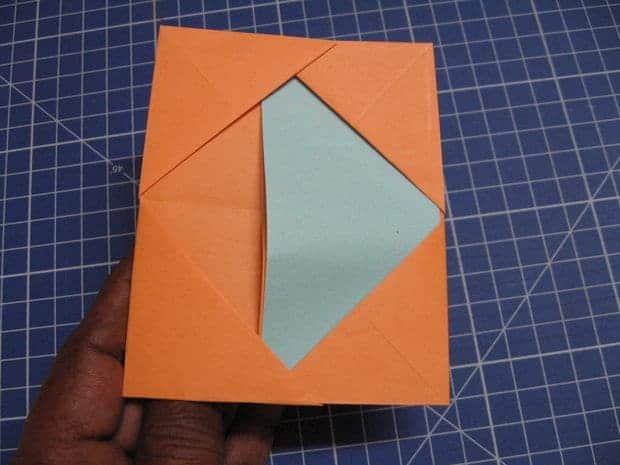
Take one different colored one than the folded paper
Measure to one side of the rectangle as shown and cut paper
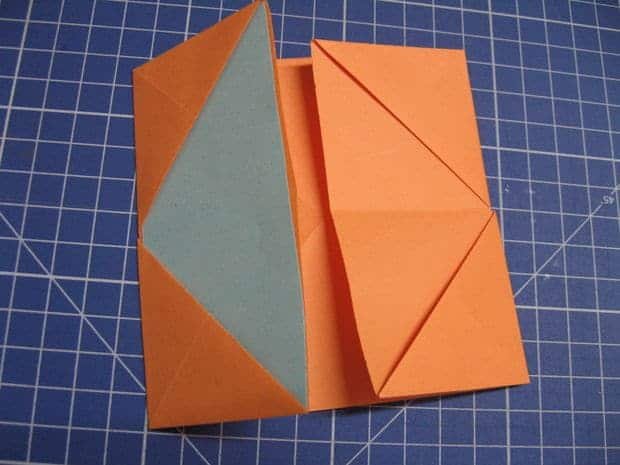
Insert the cut portion inside the triangle opening
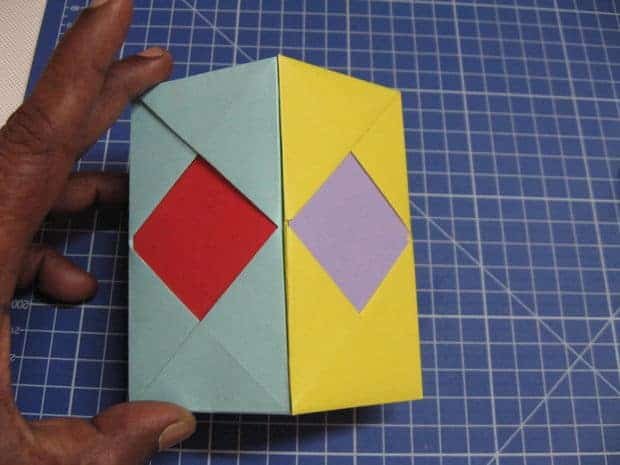
Now our folded paper will look like one in the last picture
Step 4: Insert One End to Other
We have four folds in quarters, that is you can see four sides, two at the back, one with inserted paper and one without paper in front
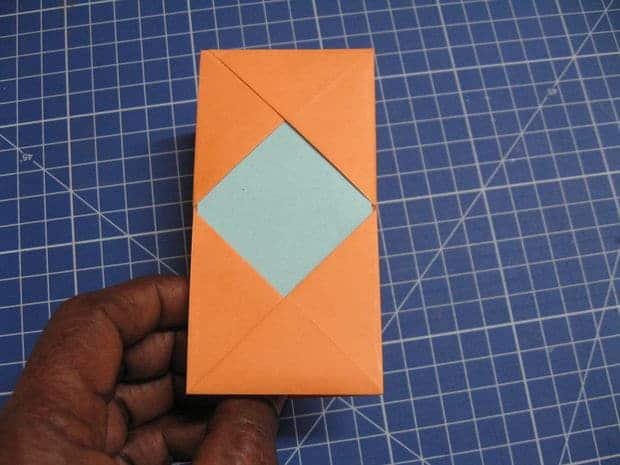
Insert the portion with the paper piece inside the triangle of opposite side
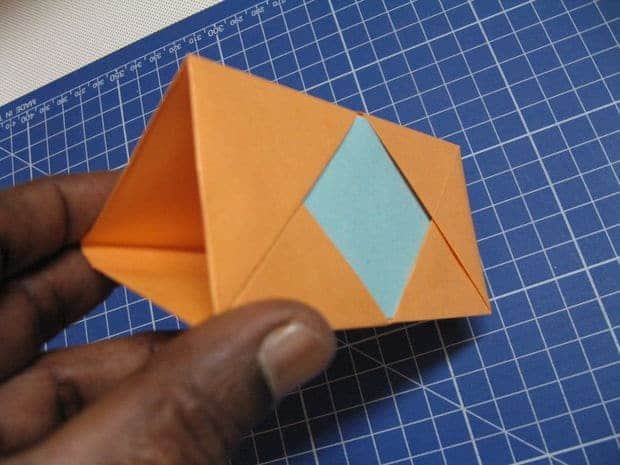
Press the portion inside to make a triangle shape
Make six pieces like this from all cut papers
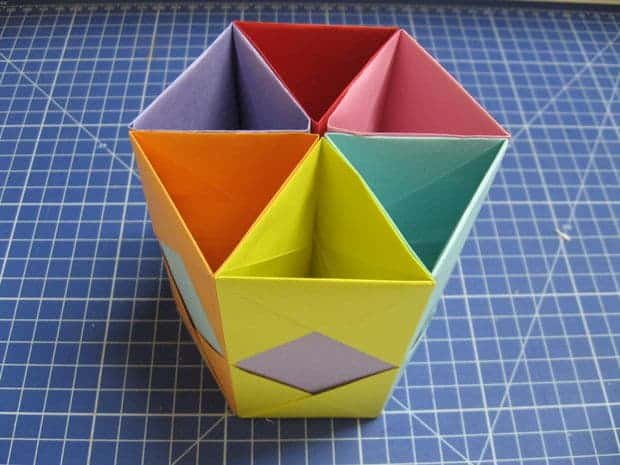
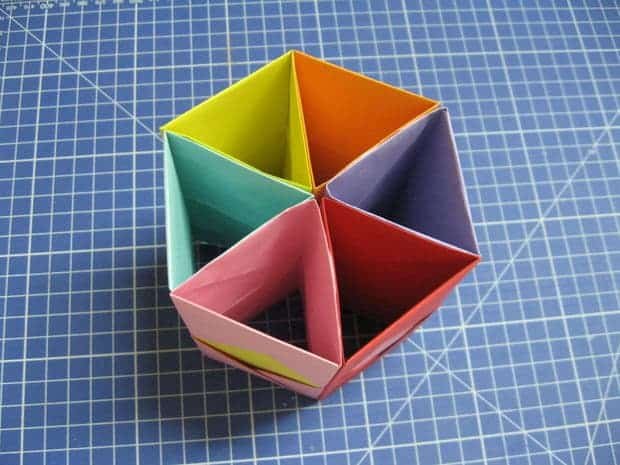
Step 5: Glue Them Together
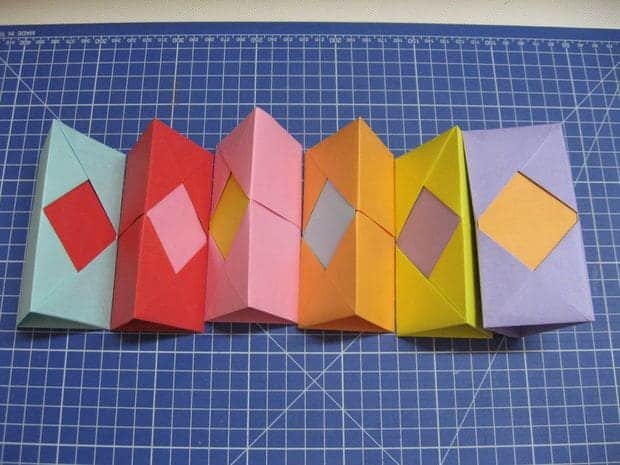

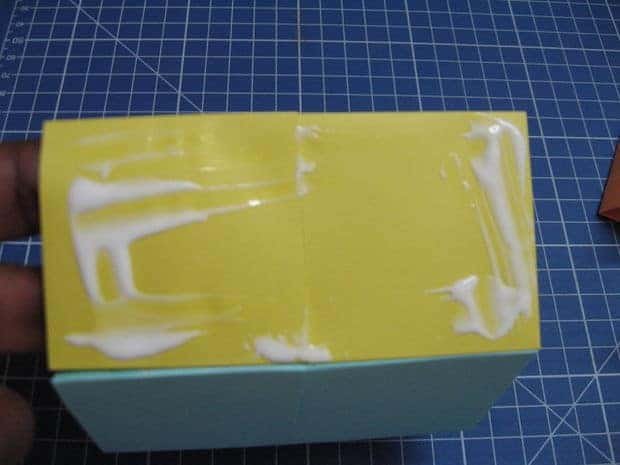

Take two of prepared pieces and apply glue on one surface at back
Attach another piece with the glued surface, so that the square inserts are visible on outside
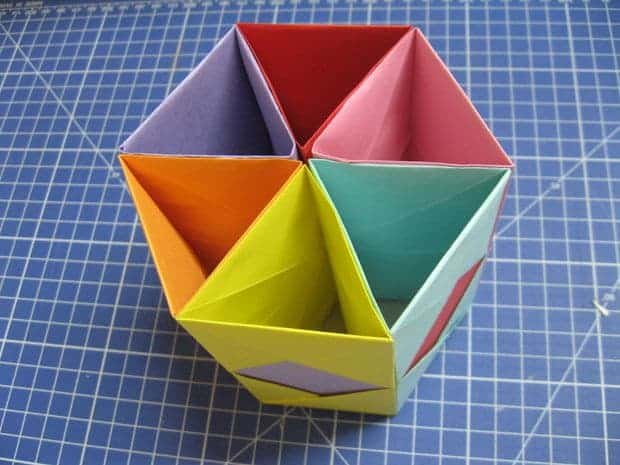
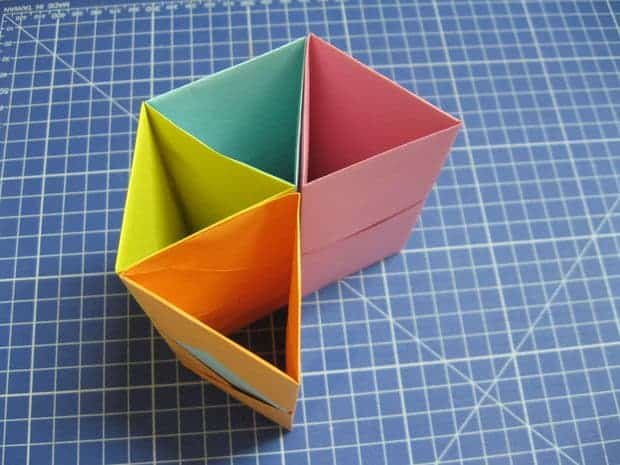
Glue all pieces together one by one and you will have the completed piece as seen in the last picture
Step 6: Measure Bottom Piece

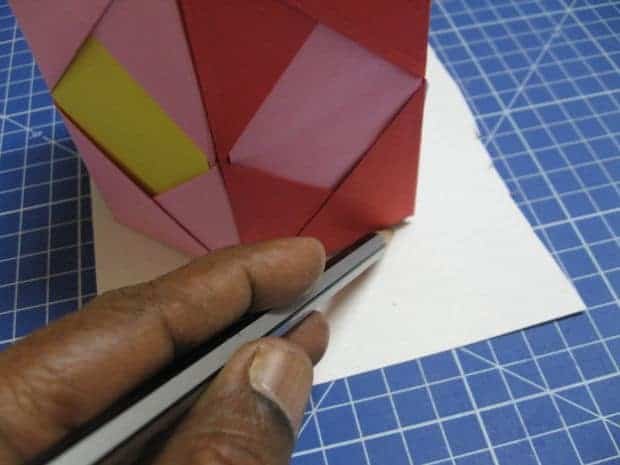
Now we need to close one side so that we can use it for keeping pen and other items in it
Place the completed piece on a card stock and mark outline and cut the shape from card stock
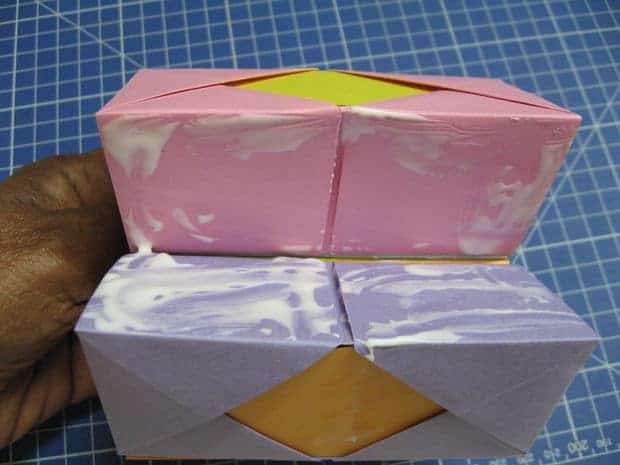
Step 7: Stick Bottom With Glue

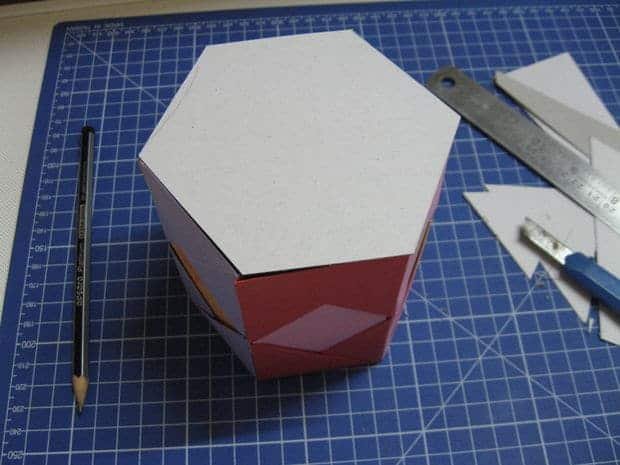


Apply glue on bottom side edges and place the cut shape on top
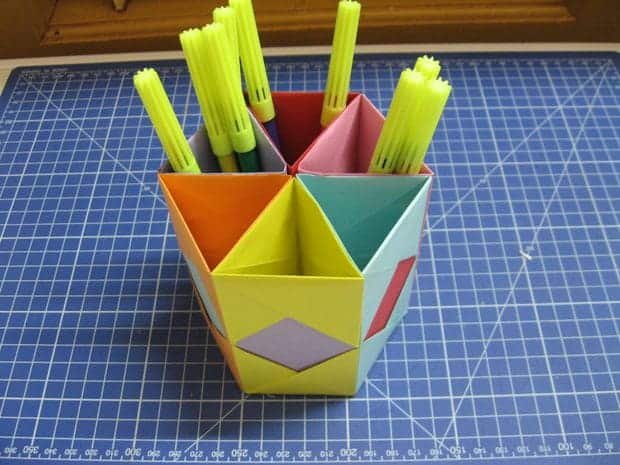
Allow the glue to dry and we have our finished Pen Holder
Keep your pen and other stationery items in this attractive box on your desktop
courtesy: instructables