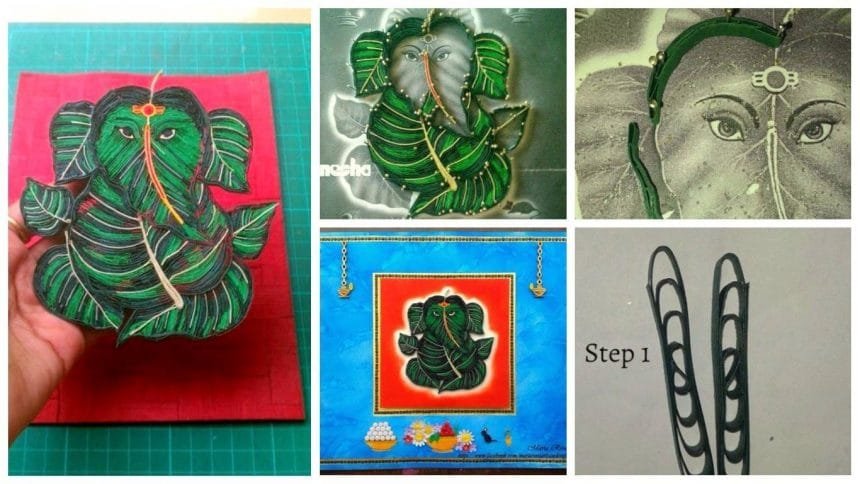
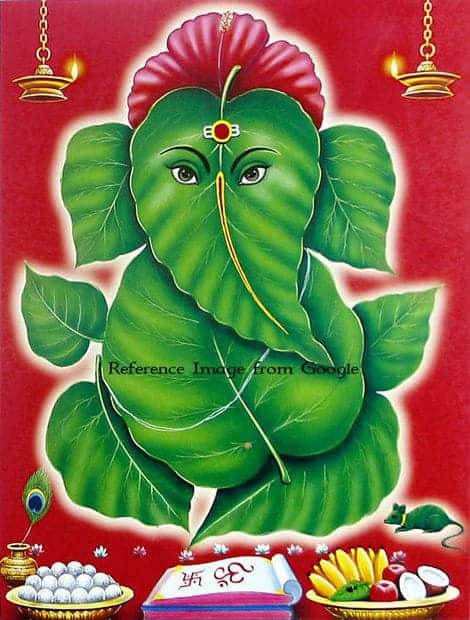
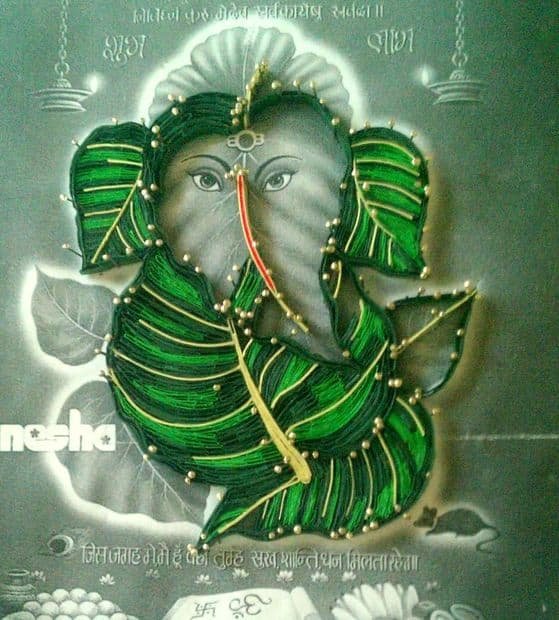
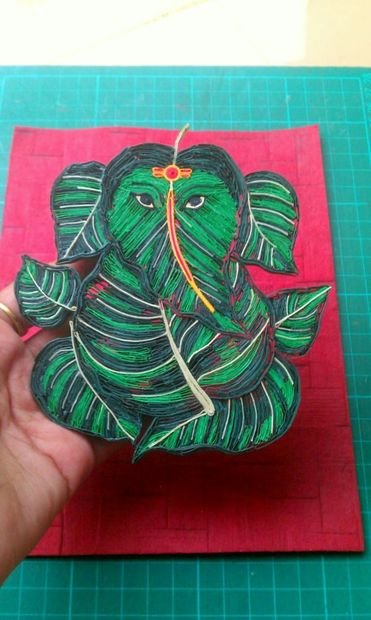
Lord Ganesha also was known as Ganapathi or Vinayaka is one among the most worshiped god among Hindus.Lord Ganesha is always represented in the shape of Elephant. I being a Christian had always admired the different styles of creating Ganesha and I adore this creation of using Peepal leaves. Most of the homes in India would have this image. I tried the same image using Comb technique in Quilling. This technique requires lots of patience and quite tricky. Once it’s done an embroidery effect will be achieved. Hope you like this work on mine.

Step 1: Materials Required
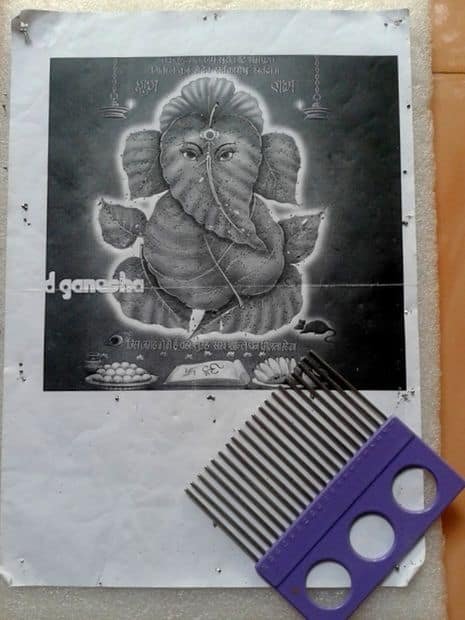
As always for Quilling, it requires Quilling strips. Here for Lord Ganesha, I used thick Quilling strips of Dark Green, Light Green, Half white, Yellow, Black, White & Red
The Main tools for this sort of Quilling is EPE Foam board, Quilling Comb, Transparent Glue( Fevicol), Ball pins
If you were well trained in drawing you could create the project onto the drawing you made. Since am not well trained in it I took a photocopy of the reference image pinned over the EPE Foam board and quilted over it.
Step 2: How to Create the Image Using Comb Technique
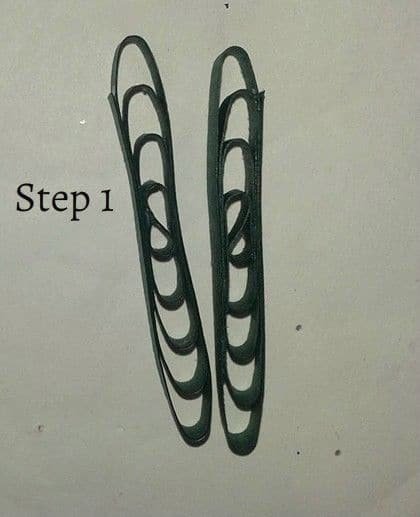


Step 1: Start creating the combed pieces of your desired length based on the image you use. You can measure the length by the numbers available in the Quilling comb against each loop
Step 2: Flatten the quilted pieces well. The harder you flatten better the embroidery look
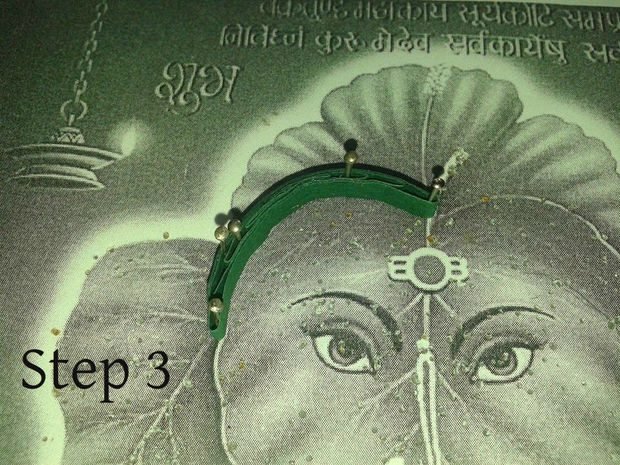
Step 3: Here from now on our best friend for this project would be ball pens. Pin the quilled petal over the boundary of the image. You can shape it based on your project. Since we use thick quilling strips the petal won’t lose its shape. Use how many ever pins you require to make the piece secure
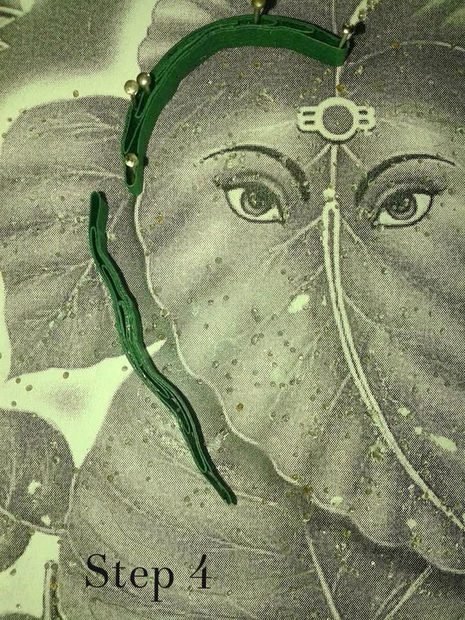
Step 4: Wiggle the shape of the next petal since the image of peepal leaf is curvy.
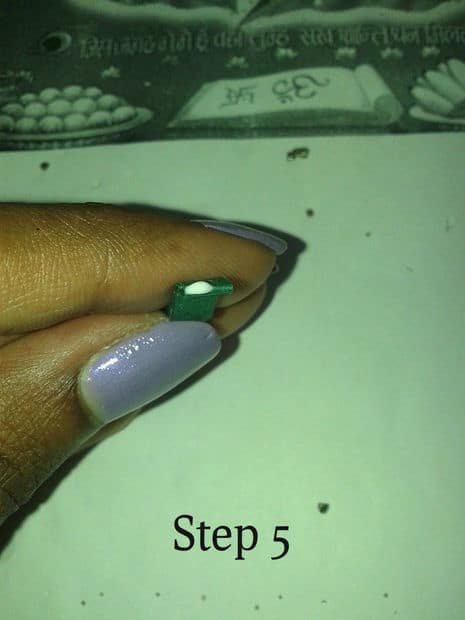
Step 5: Apply Glue to the top half of the connector(2nd petal) petal. The quilled image once done will be removed from the reference base. So be careful while gluing the pieces. It should not stick on to the reference image.
Step 6: Now stick the second petal onto the pinned 1st petal and secure it with pins. The pins should not be removed throughout the project. You can remove a few once you ensure the petals doesn’t loose its shape.
Continue to create the outline of the image in this similar manner.
Please do ignore the holes on the photocopy available. This tutorial is done after the creation of this project.
Step 3: Progress of Lord Ganesha Quilling


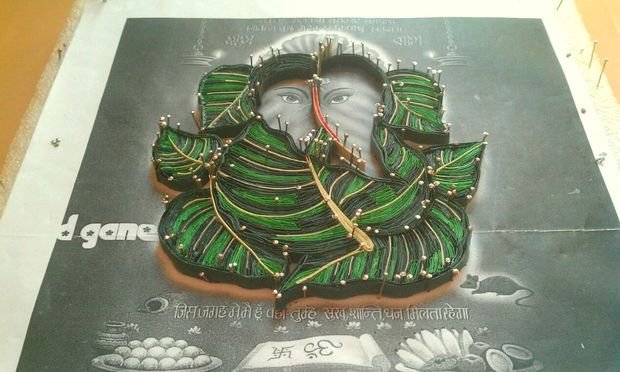
Here I have attached how I progressed to fill the picture. Since it took many days I couldn’t take all detailed steps but I can brief out points to remember while starting to fill the pieces
Peepal leaves have two different shades of Green a dark & lighter one.So I incorporated both here. The main point to keep in mind is measure how long you wanted dark & light green petals. Then start to pin it and stick it.
If you have an outline already done, make sure the petals are glued both on the side’s top half and the tip so that it sticks to the outline secure.
While filling the inner portion I first stuck the half white pieces which acts as a peepal leaf veins. This also helps us to know where exactly your dark & light green pieces should be stuck.
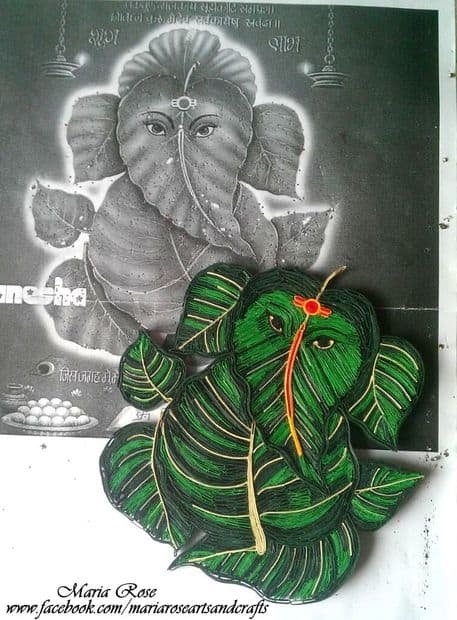
Step 4: Process of Removing Ball Pins From the Foam Board
This video will contain the whole project of Quilled Lord Ganesha. Also, this will contain the images listed in the previous step. Please do hop onto 00:27 to see how I removed the pins.
If you stuck the glue properly on the top half of the quilled pieces you can remove the piece easily as to how I did.
Please please do ignore the bad quality of the video this is just a home video
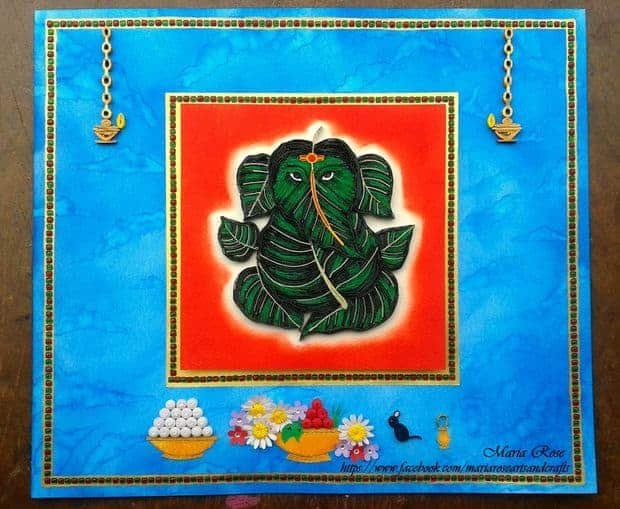
Step 5: The Final Project
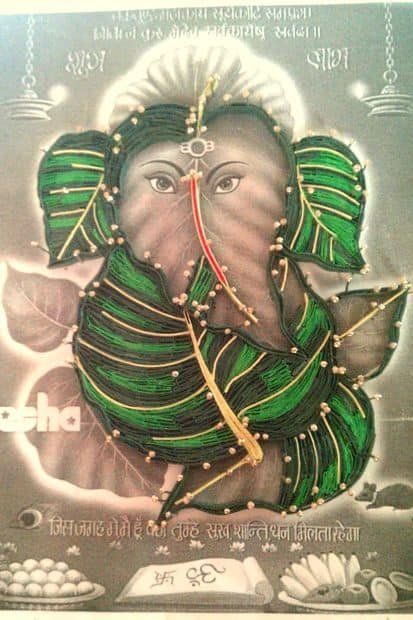
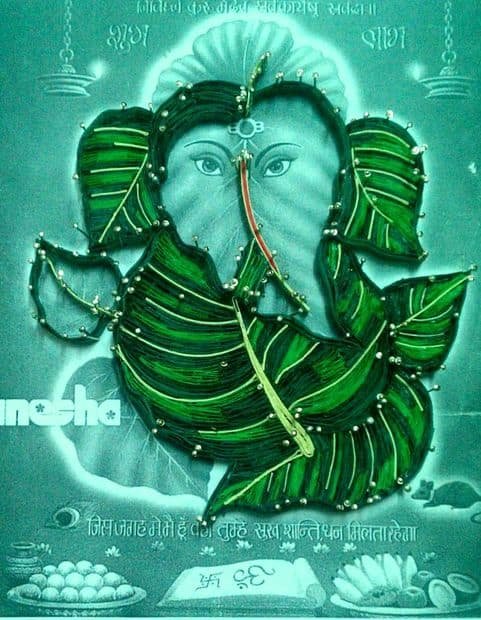
The center piece was stuck onto watercolor paper and then used Artistry Ink Cranberry Crush leaving a small white space around the image. This method highlights the center piece much more. If you’re from other countries you could use Distress Inks in your color preference.
Here in India Tanjore paintings are one among the various painting forms available. The paintings involve the creation of various Hindu Gods and quite a few Christian idols. This style of paintings is always adorned with green, red, white stones which are famously called as Tanjore stones. So I incorporated it into my project. Both the outline of the center piece and the outline of the blue background is adorned with those stones
For the blue background, I used Distress inks- Salty Ocean. In order to create an effect of clouds, I dipped the 0 size painting brush into the water and created a blotted effect in shape of clouds. The picture pretty much doesn’t capture it but in reality, it does look like clouds.
The remaining pieces were created in order to imitate the reference image used.
Hope you like this project of mine. This was a gift to my dear friend on their wedding anniversary. In India gifting Idols on their special day means that the God will always bring happiness to their life.
This is not done yet. The same technique was used in another project of mine. Move on to the next step. I hope you will enjoy next piece of my work
Step 6: Comb Technique Project – Quilled Heart Maze

The only difference between these two project is Heart maze is stuck over the paper but Ganesha quilling is not stuck.
Hope these works of mine inspire all the visitors to quill. Happy Quilling and share your work of art.
courtesy: instructables