
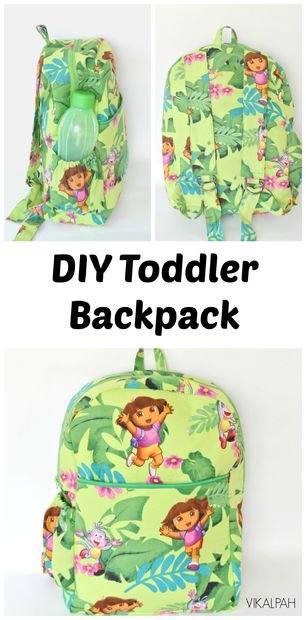
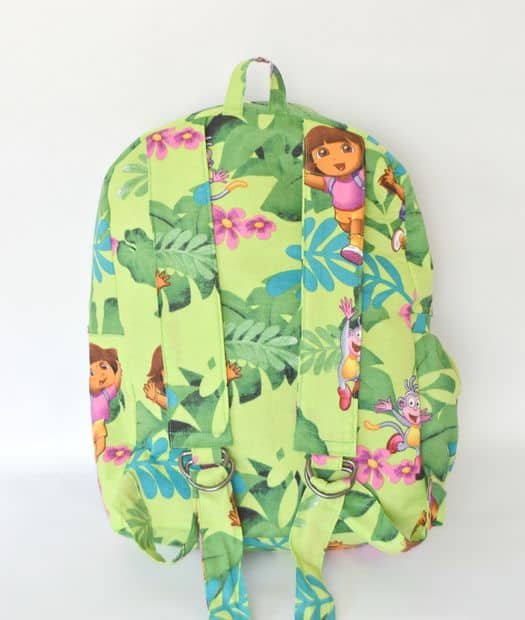
I decided to make her a Dora Backpack for her birthday this year. I haven’t stitched any backpack till now, so I took this as a challenge and made my own pattern to sew this backpack. This came out quite well except in few places. I think they are so negligible mistakes which I have to work on to avoid in my future projects. Now, let’s get to the making of this bag.

Step 1: Materials Used
Cotton fabric – 1 yard
Nylon – 3/4 yard
Interfacing – 1 yard (I used Pellon 809 decor bond)
Interfacing – 1/8 yard (Fusible Thermolam plus)
Magnetic clasp
Zipper – 22″
Elastic 1/2″ – 10″ approx length
D-rings – 4 as straps adjusters
Bias tape
Hand sewing needle
Sewing thread
Pattern for Front and back panel
Step 2: Measurements
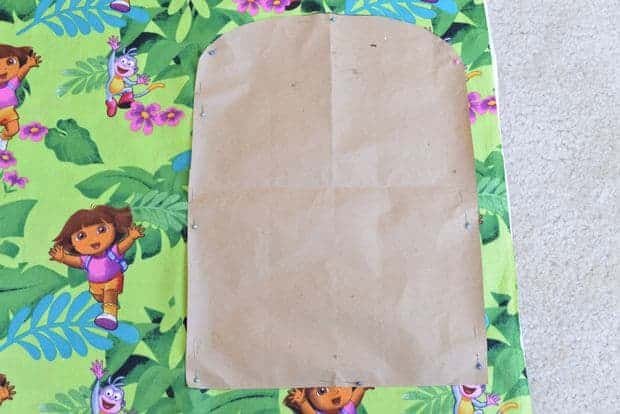
Front and back panels – 10.5″ X 14″ (If you want to make your own pattern, otherwise you can click the link above to print the pattern.Make sure you align edge to edge and tape it to get the complete pattern)
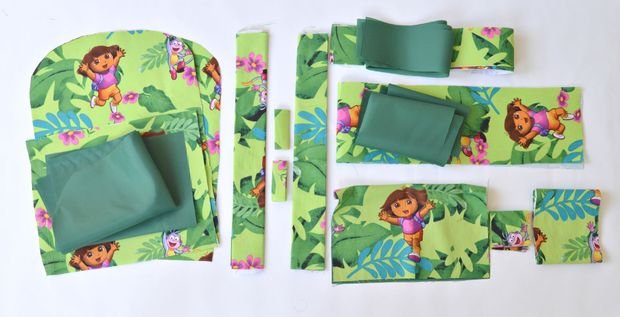
Front pocket – 10.5″ X 9″
Zipper panels – 2″X 22″ – 2 pieces
Side panel – 4.5″ X 26″
Bottle holder – 9.5″ X 7″
Shoulder Straps – 8″ X 11.5″ – 2 pieces
Strap extender – 3″ X 20″ – 2 pieces
Hanger loop – 4″ X 3.5″
D-rings holder – 3″ X 5″ – 2 pieces
Interfacing: I used Interfacing for all the parts mentioned in the measurements except the bottle holder, strap extender and mini pieces like hanger loop & D-rings holder. I used Fusible Thermolam plus interfacing for the Shoulder straps to give some extra bulkiness and softness.
Lining: I used lining for front and back panels, Zipper panel, side panel, front pocket, and bottle holder.
Step 3: Front Panel

Attach one part of the magnetic clasp in the center of the front pocket lining(Wrong side) with a piece of interfacing for extra support.
Step 4:
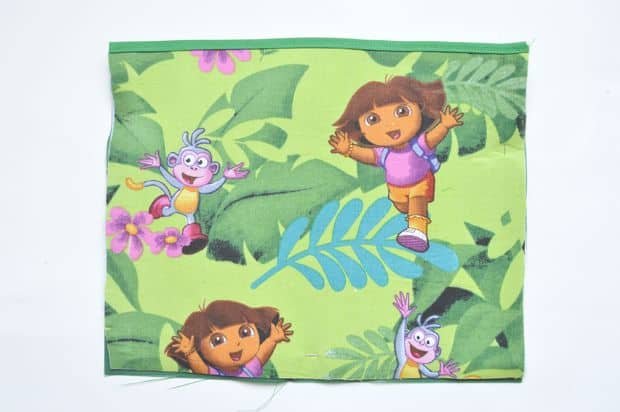
Sew the front and lining of the front pocket together by sandwiching them between the bias tape. I also used zig-zag stitch above the normal stitch for some extra security. As nylon is very sheer, I felt like a single stitch was not enough.
Step 5:
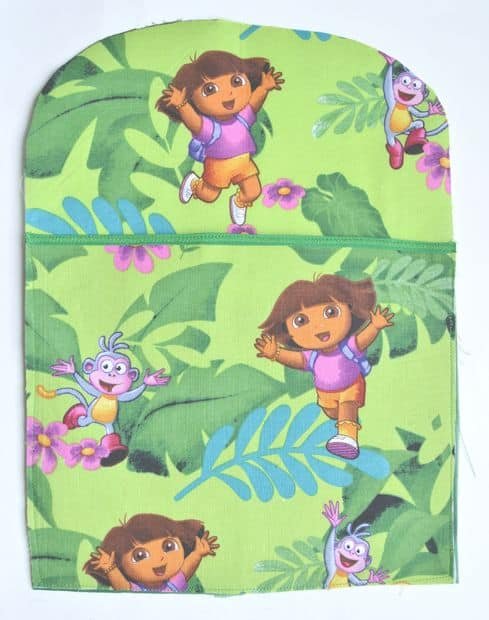
Now attach the another side of the magnetic clasp at the appropriate place on the front panel. I have discussed in detail on how to attach the magnetic clasp in my mini Dora bag tutorial. Then sew the front pocket onto the front panel. Sew along the corners with 1/4″ seam allowance. The front panel is now ready.
Step 6: Back Panel
Hanger Loop:
Fold the piece(2.5″ X 5″) in half and iron. Open then fold the sides meeting the center crease/iron line and then fold in half again.Sew with 1/8″ allowance and repeat the same on the other side. See step 6 here for better understanding of this step.
Step 7: D-rings Holder
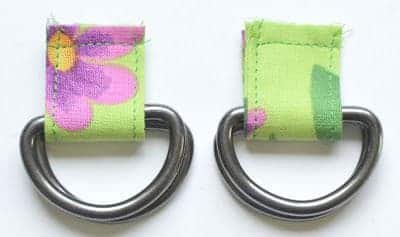
Repeat the same step as hanger loop.Fold the stitched loop in half and place a couple of d-rings into the loop and make a stitch to secure the rings.
Step 8: Shoulder Straps
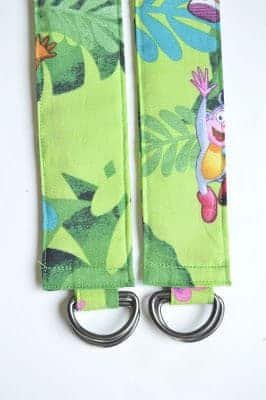
Follow the same procedure of ironing and folding as previous steps. But before sewing the edges, iron the fusible thermal plus on one side of the fold. The thermal measurements will be 2″X11″. I have subtracted 0.5″ in length as you will be folding and sewing the raw edges. Fold the raw edges and place the D-rings holder in the center before sewing. Secure them well with two stitches, then sew the corners to complete the shoulder strap. Repeat the same for the other one.
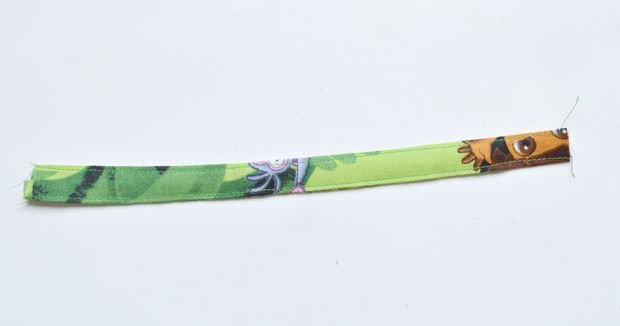
Step 9: Strap Extender
Again the same process of folding, ironing, and sewing. Fold and sew the ends before the sides for a neat finish.
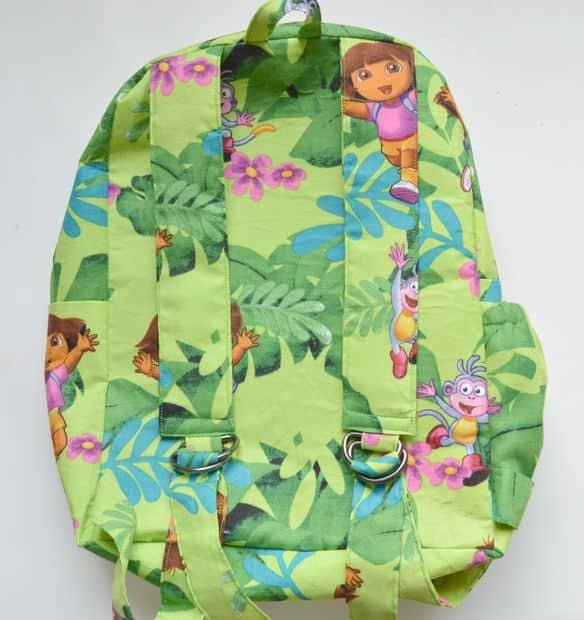
Step 10: Assembling the Back Panel

Pin the hanger loop, shoulder straps and strap extenders in its place. There is no hard and fast rule for this. I just measured the center point for the hanger loop and half an inch from that I pinned the shoulder straps. And for the strap extenders, I measured one inch from the bottom and pinned them on the side.
Stitch twice or thrice, use reverse stitching for a strong hold. The back panel is now ready.
Step 11: Zipper Panel
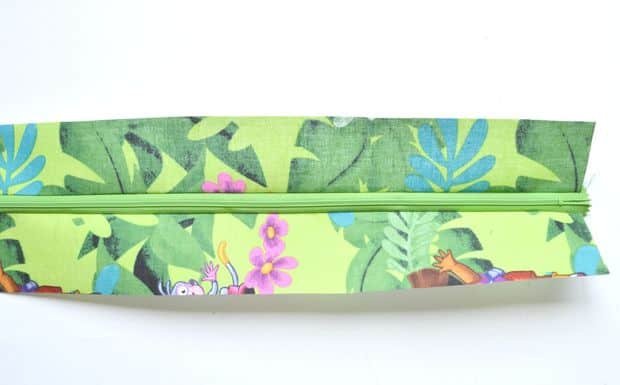
Sew each piece on either side of the zipper using 1/4″ seam allowance.
Step 12: Side Panel
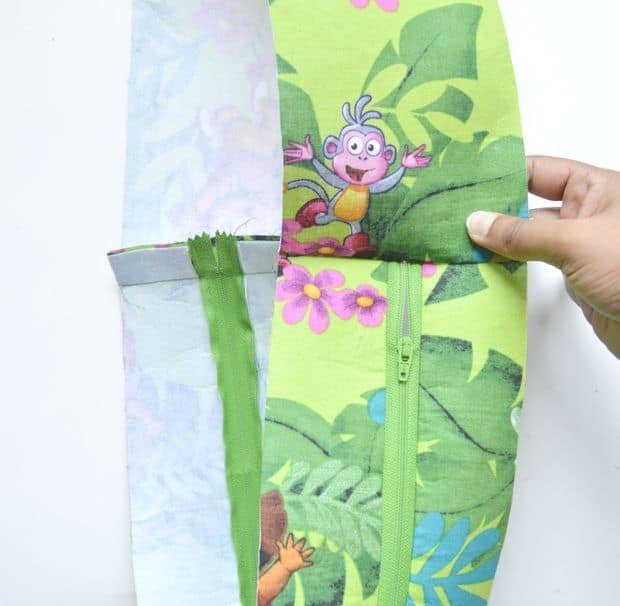
Attach side panel to the zipper panel with 1/2″ seam allowance. The length I have mentioned here might be slightly larger than required (around 1/2″ to 3/4″). So I recommend you to check it by pinning around the front panel once before attaching the second side of the side panel to the zipper panel.
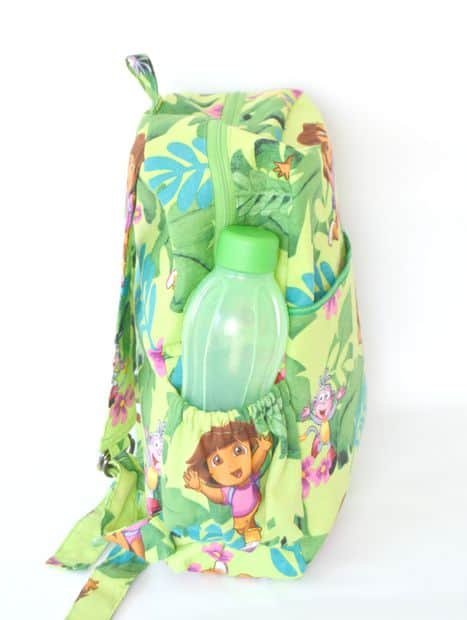
Step 13: Attaching the Bottle Holder
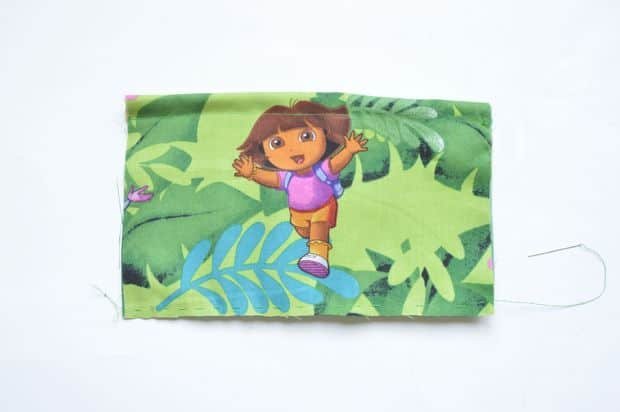

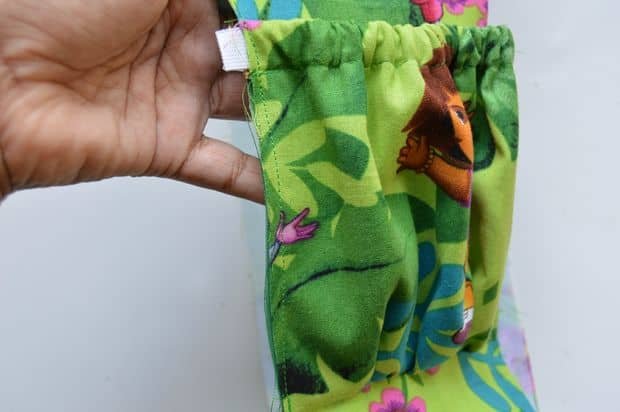
Take the outer piece and lining together. Fold and sew to create a 1/2″ inch opening for elastic at the top.
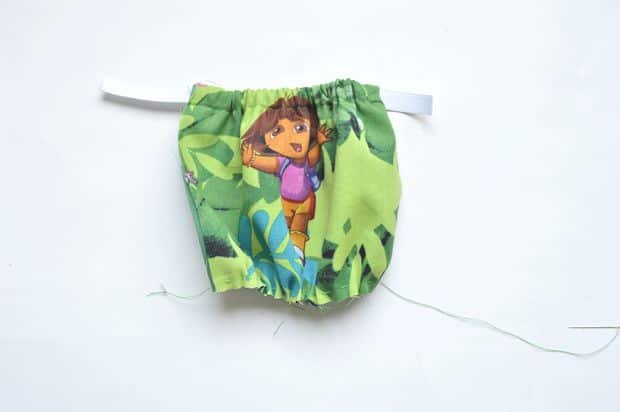
Thread a hand sewing needle and make a running stitch at the bottom to create gathers.Gather the bottom so that the width is equal to the side panel width (4.5″).
Insert the elastic into 1/2″ inch opening.
Mark the place where you want the bottle holder on the side panel. Place the bottle holder right sides facing each other and stitch the bottom.
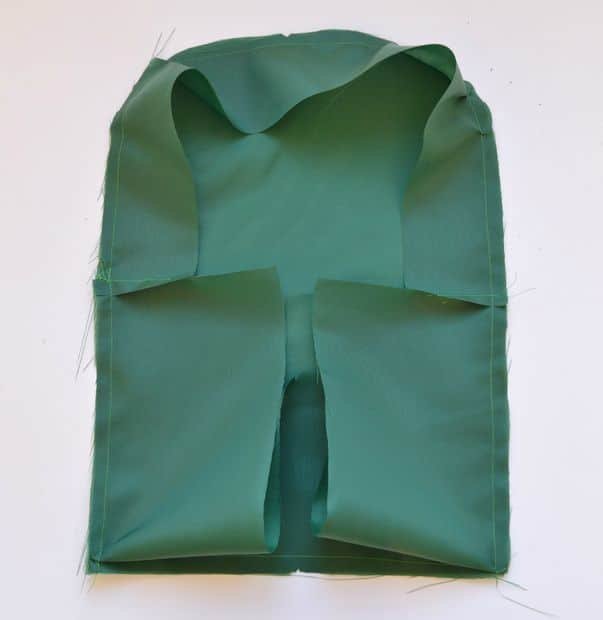
Step 14: Connecting the Side and Front Panel
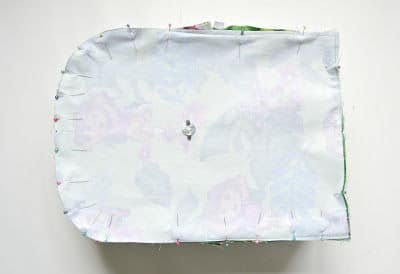
Connect the center points of the front panel and zipper panel. Start pinning all around using straight pins.
Step 15:
Sew all around to attach the side panel to the front panel.
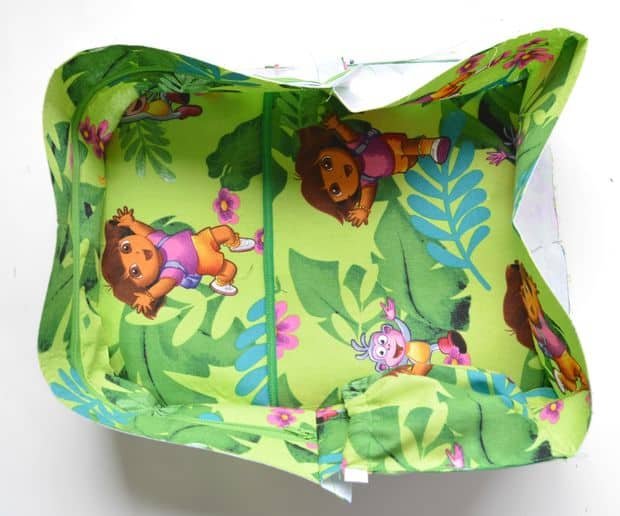
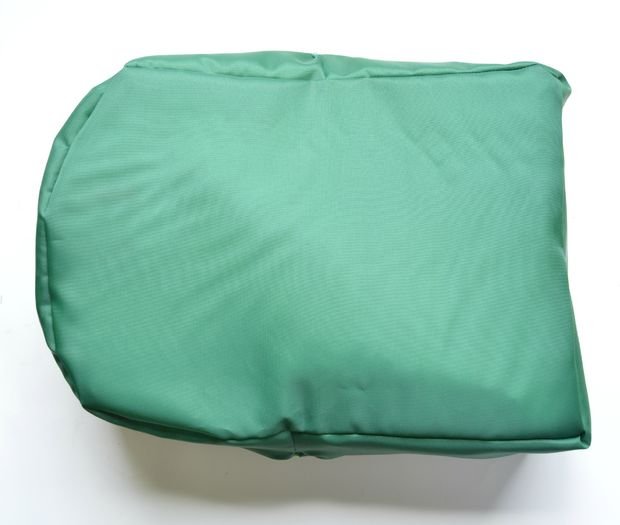
Step 16: Connecting the Back Panel to Complete the Bag
Repeat the same steps as before and sew all around to complete the bag. Don’t forget to unzip the zipper to turn the bag inside out. Make sure everything is perfect. Go over, all the edges to shape the bag. If you have planned for a bag without lining, you are done.
But I have planned to line the bag.So, let’s get to the lining part.
Step 17: Lining the Bag
Sew one part of the zipper and side panels to the front panel as shown.Repeat the same to sew the back panel and another zipper panel. Make sure to leave 1/4″ allowance in the zipper panel to fold and sew later.
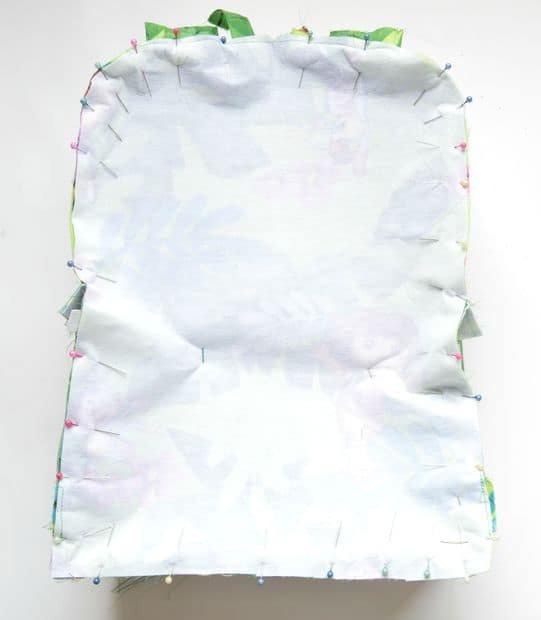
Step 18:
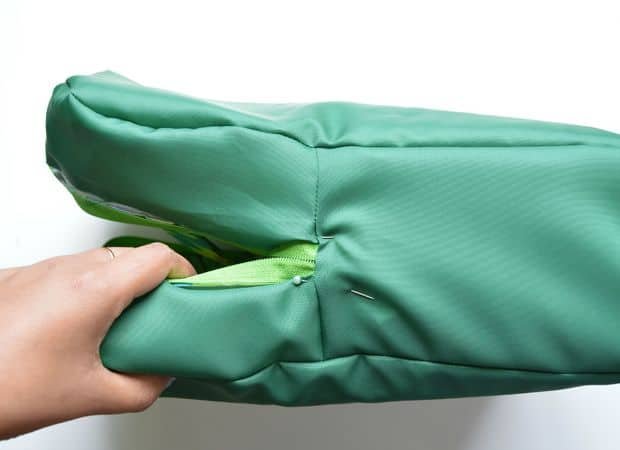
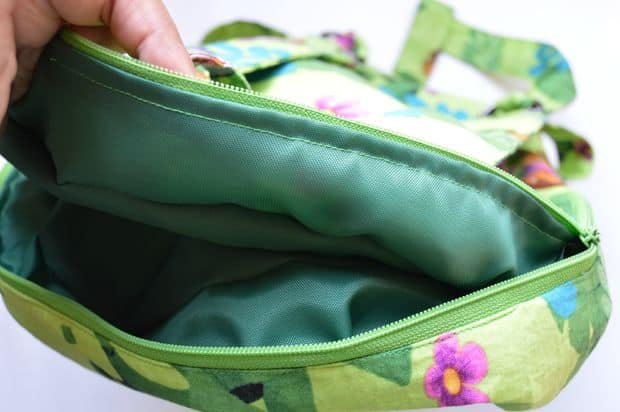

Turn the already stitched bag to the wrong side. Turn the lining stitched to right side facing out. Now insert the bag into the lining and pin along the zipper and sides to secure. Sew along the sides of the zipper (top stitch) and sides to complete the bag. Turn the bag inside out and be amazed at your own hand sewn backpack.
Step 19: The End
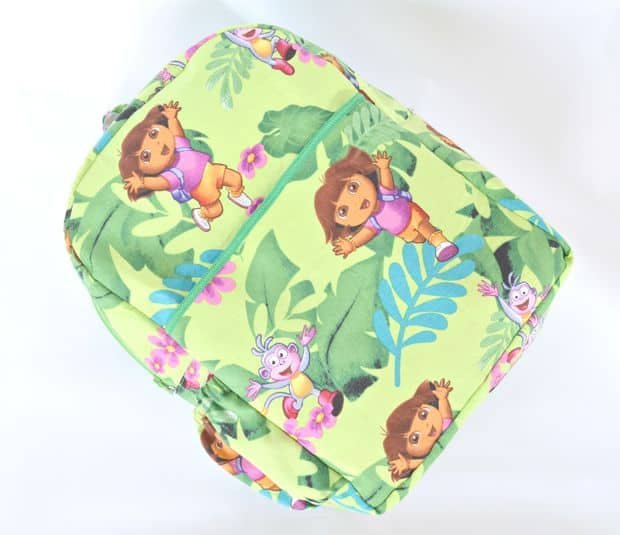

Hope you like this step by step tutorial on how to sew a toddler backpack.I made this backpack in such way that it should at least hold papers of A4 or letter size.
courtesy: instructables