
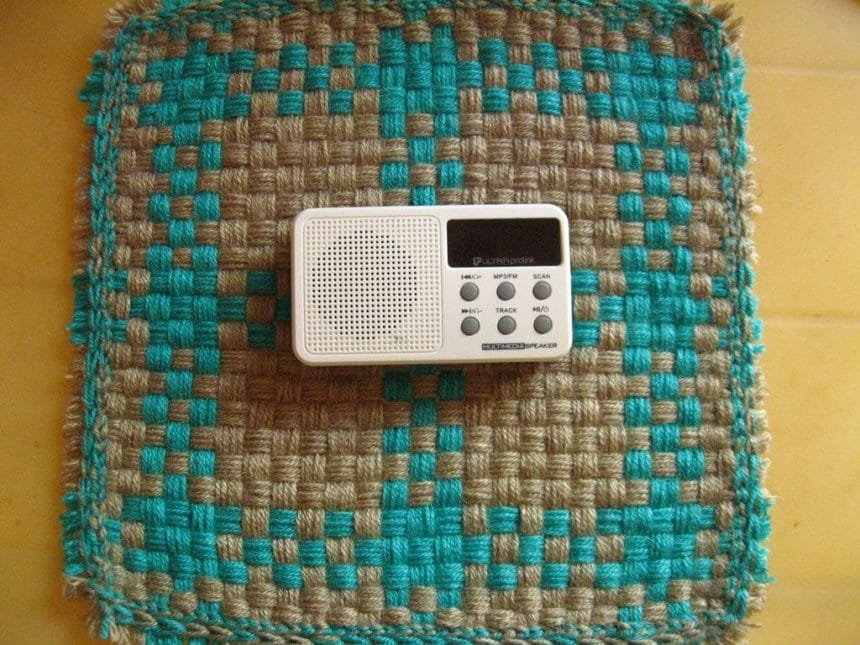
This is my first instructable and here I have shared on how to Weave a small table mat of size 12 inches by 12 inches, made with Acrylic Nylon hand knitting yarn. You can use this table mat to keep your small items like mobile phone, FM Radio, Blue tooth speakers and all.
I have been encouraged by my family members who have already joined this wonderful DIY website to join and post my hobbies as instructables here. Hope you all enjoy it.


Step 1: Home-Made Loom

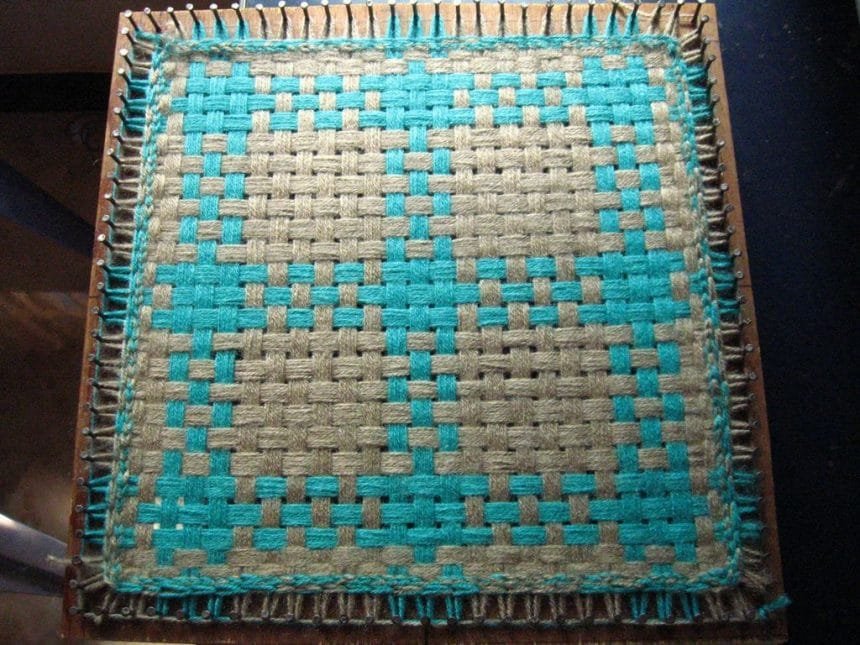
I have used a home-made loom for this project. My husband made this loom for me. It is square in size with 12 ” by 12 ” inner dimensions. The frame is made of 3/4th-inch thick plywood with one-inch width on all sides. The nails on the frame are spaced at 1/2 ” center t center
Step 2: Materials and Tools


You need two different matching colors of Acrylic Nylon hand knitting yarn. I have used Sea Green and Light Biscuit colors. The yarn packs are 100 grams each. about 25 to 30 grams of each color is required for this project.
Different sizes of crocheting needles will also come in handy while weaving the mat.
Step 3: How to Start
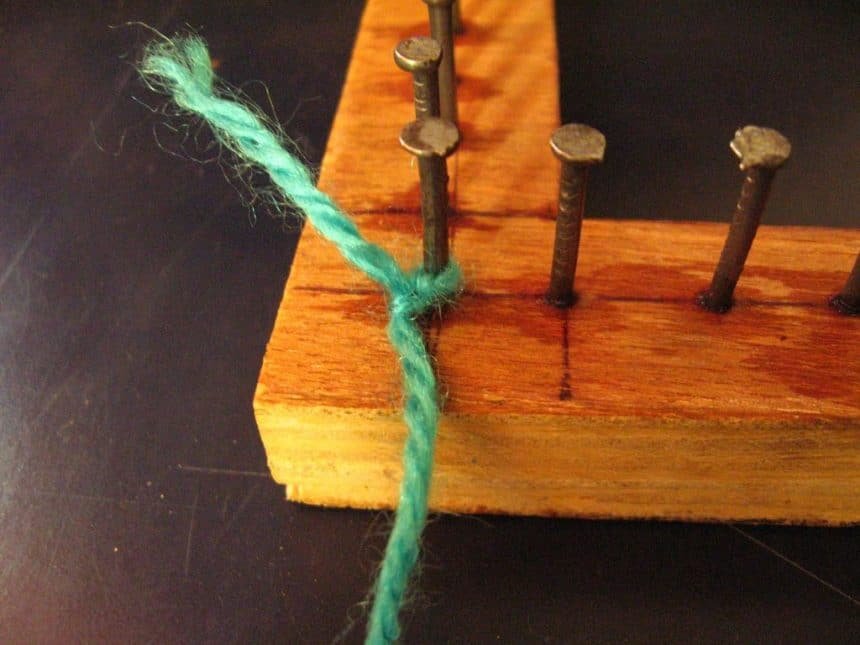


First I have started with sea green colored yarn
Tie one end of yarn on the nail on one edge
Use a colander or such container to keep the yarn. This will prevent the yarn from rolling on the ground
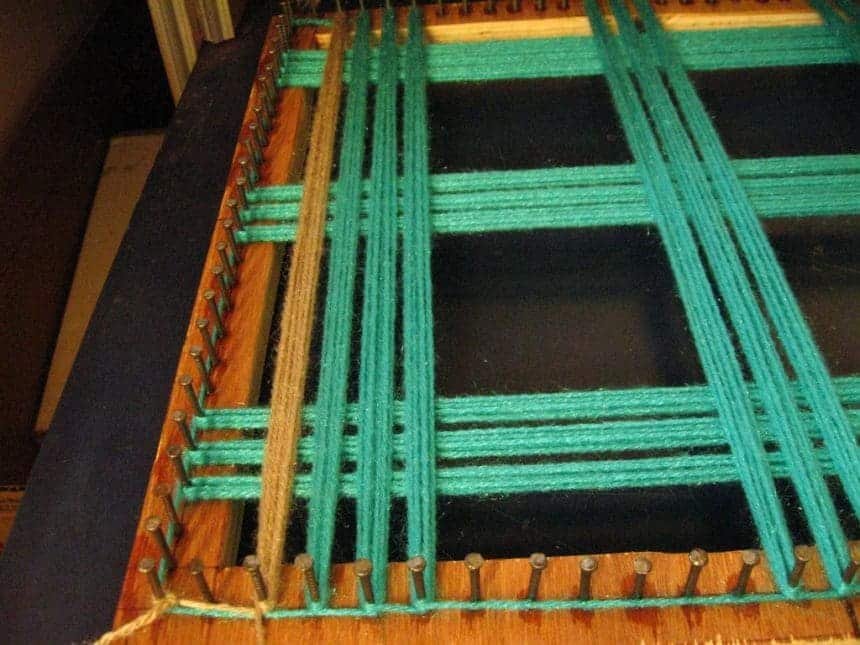
The gap between the nails is almost equal to 10 times thickness of the yarn. So we will use about 8 strands of yarn in between.
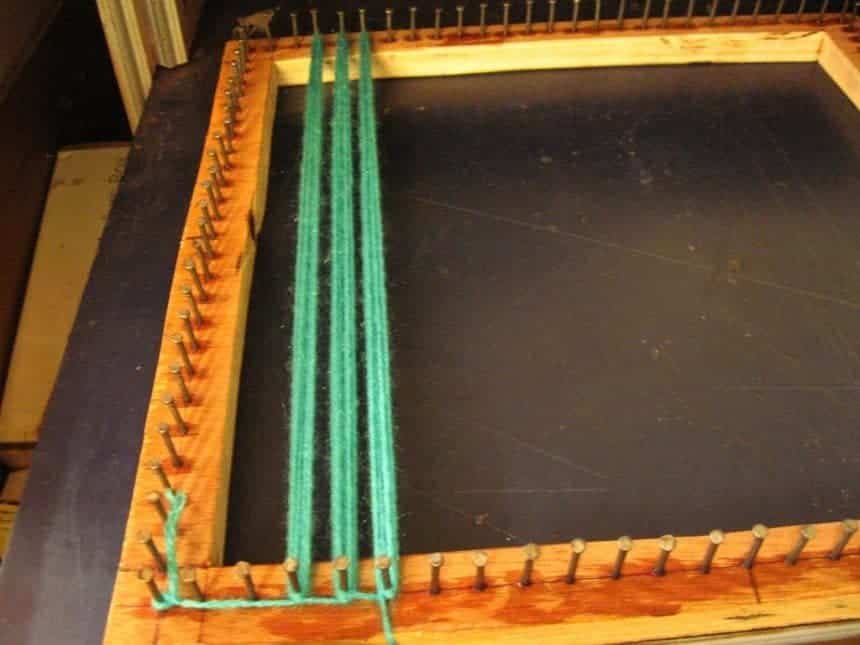
Start from the 4th nail and warp 4 circles of yarn around the opposite nail. This will give us 8 strands of yarn on each row.
Make three rows like this with the same color
Step 4: Continue to Warp


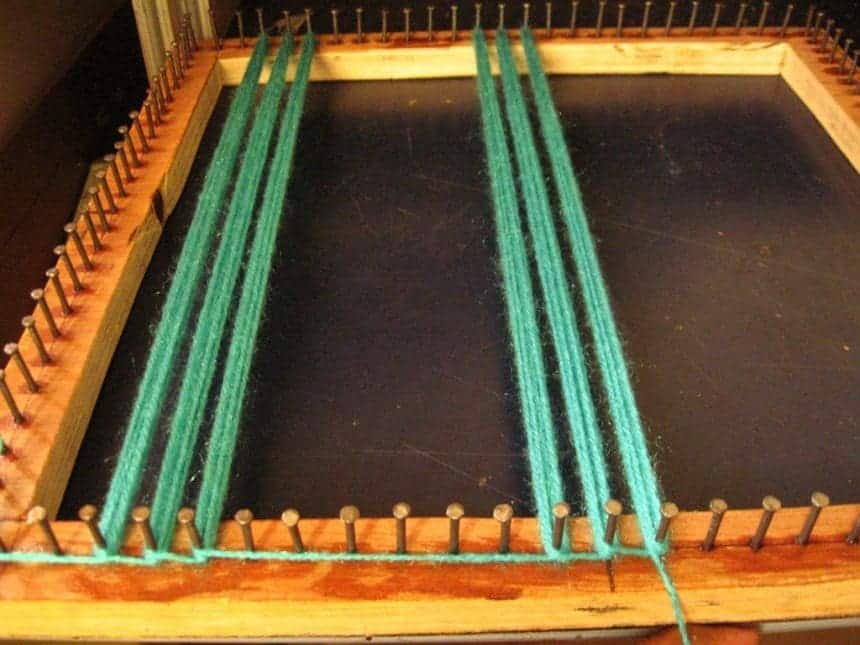


Continue to wrap three rows at the center and three rows on the other edge as shown with the same color. There is no need to cut the yarn but can be taken along the outer edge of the nails
Step 5: Warp on Other Side


Take the yarn along the outer edge of the nails and warp perpendicular same as earlier rows
Step 6: Start Warp With Other Color


Now we can start warping with other color yarn
Tie one end of yarn with the nail on one end
Warp as earlier on the outer edge
Step 7: Continue to Warp


Continue with the light biscuit color on all the spaces between sea green colored yarn
Step 8: Warp Perpendicular


Once warping on one side is completed, start warping perpendicular to all the empty spaces in between.
Tie the loose end of yarn on a nail and trim the yarn
Step 9: Weaving


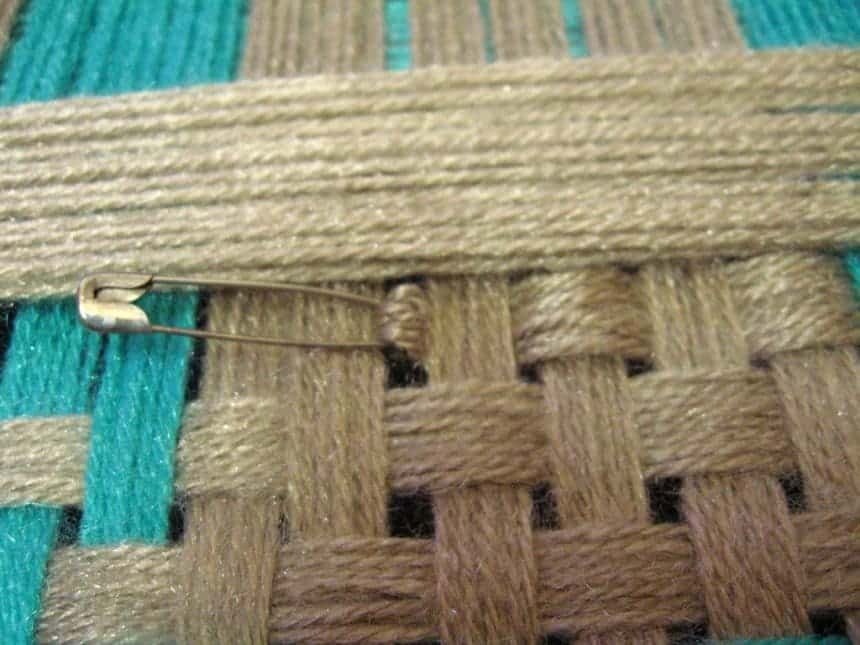


Lift one layer of warped yarn from the nail on one end. You can use a crochet needle or any other suitable hook for this.
Use a safety pin as shown to hold the layer of yarn. This will prevent the yarn from getting separated
Start weaving from another end alternately inserting the safety pin with the yarn in an up-down pattern
The second layer is weaved opposite to the first one, again in an up-down pattern as shown
Continue to weave till you reach the other end
Step 10: One More Layer on the Outer Edges


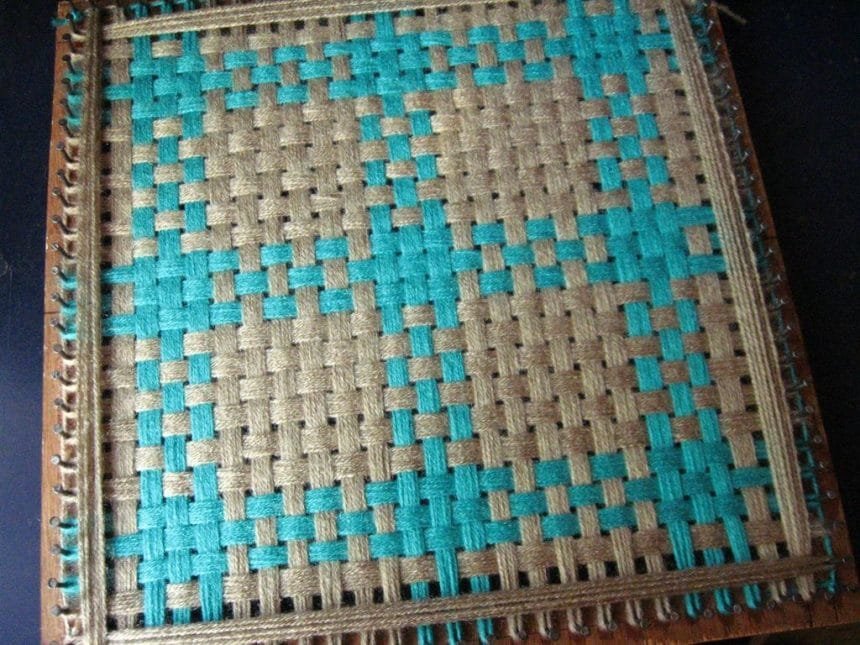

After weaving the already warped yarn I found that there is some gap at the edges. So I added one more layer of light biscuit colored yarn at all edges and weaved them together
Step 11: Crochet Around the Edges


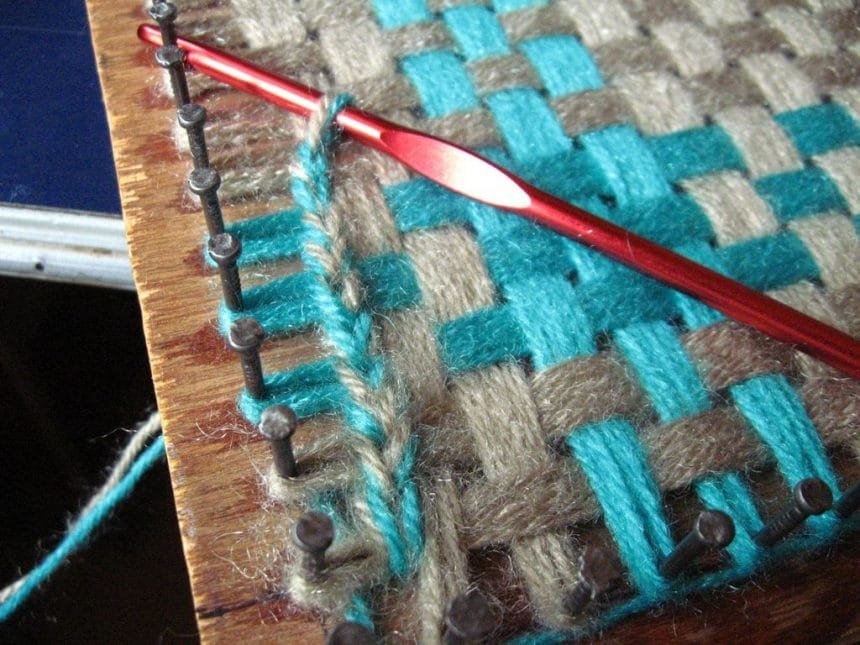


Now we will crochet around the edges using yarns of both the colors. Here I have used 6 mm crochet needle for this
Keep both the yarn packs in a container and take both the yarns together and tie a knot
Start crocheting from one end all around the edges between the spaces
Step 12: Crochet Second Layer and Lock the Edges


We will crochet the second layer around the edges which will help us lock the weave in its place. Start from one end as earlier and complete all around. Tie the yarns at the end and trim
Step 13: Cut Edges and Finish


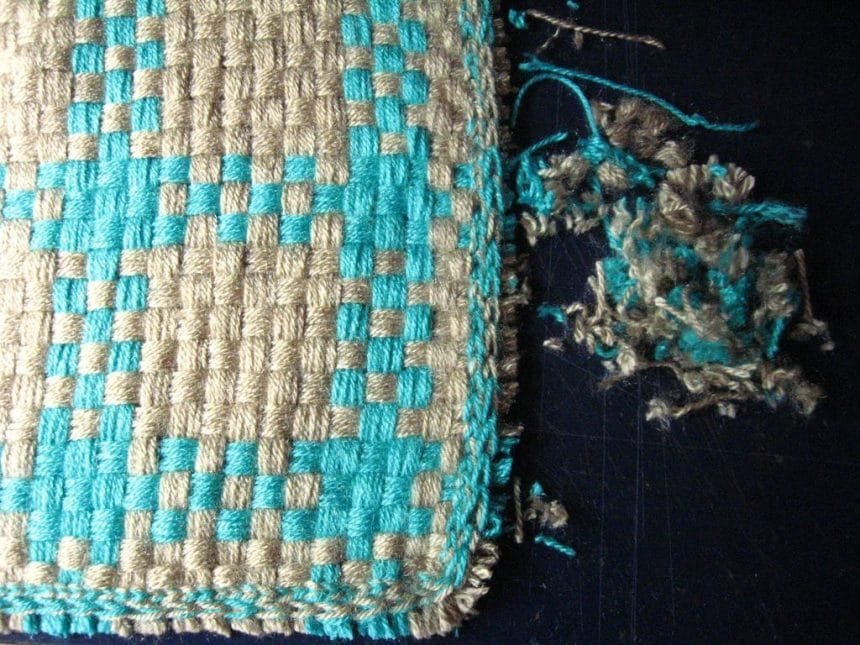


Using a craft knife, cut all the edges of yarn from the nails.
Now you can take out the completed mat from the frame.
Trim the edges using a pair of scissors. Our mat is now complete
You can use this small , at to keep your items like Mobile phone, Radio, watches, and other small items
courtesy: instructables