Imitation of old photographs
Vintage photos do not leave you indifferent, and printed in the current conditions do not produce the desired effect? I am very familiar, and so I decided to tell you how to make your image even more vintage, even if the picture was taken yesterday. We will not work with popular programs at the moment of image processing and conventional materials.

For master-class will need the following tools and materials:
– construction paper or cardboard;
– Glue and brush for decoupage;
– images printed on paper or decoupage card;
– emery cloth (very small), a tool for the aging of the edges;
– distress ink. Step 1. If you want to simulate antique art photo, then move it to the beginning of the black-and-white or sepia.

Step 2. We print the image on a simple or on watercolor paper, I printed on a printer with pigment inks.
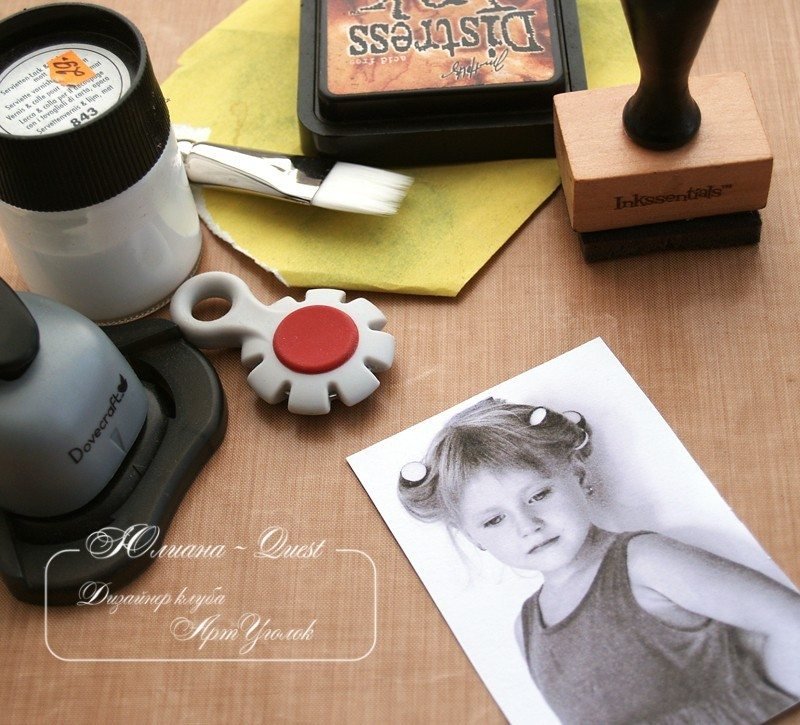
Step 3. toning image. There may be several options – sostarivayut coffee, tea or distress ink. I prefer the latter method because it is faster. If you are printing on an inkjet printer, the aging of tea or coffee you will not work, because the picture will float. Can a little walk on the edge of the tool to aging, but it is not mandatory

Step 4: Glue the picture on is not too thick cardboard or heavy paper (in this case it is better to use two layers), and give dry.

Step 5. We cover our wallpaper glue for decoupage. Under glue distress ink can swim, because as they are water-based adhesive. Here we, most importantly avoid dark bands, if they are still there, very gently with fingertips pat on the still wet picture and tone equals. Give dry. Apply another layer. Dry them.

Step 6. strip all the excess and start to the finish aging image. To do this, take the emery cloth and wipe the edges of the top of the image, do it slowly and carefully, so as not to overdo it, keep these manipulations until we reach the desired effect. In this case, it took me just for once to walk along the perimeter and at the bend.


Step 7. Again toning distress ink, now only the edge of the image and at the turn. I took two approaches with different shades of ink.

Step 8 secure all with another layer Decoupage glue. Dry them. Done.


More options:
decoupage card on cardboard.


