
Mirror art
see the background behind these flowers? That is what I wanted to talk to you about.

This is the finished product we will be doing together today. The entire piece is about 4 feet wide by 2 1/2 feet tall.
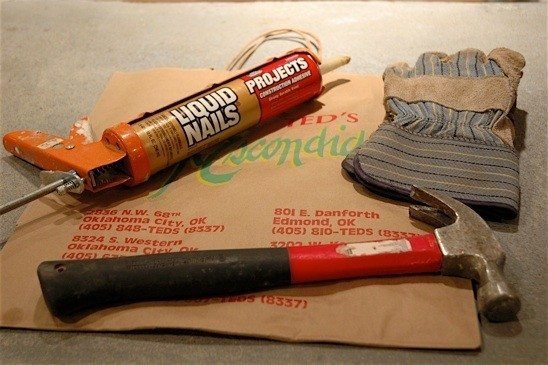
You will need broken or old mirror (pretend that I included the mirror in this picture), a hammer, heavy duty butcher paper or a heavy duty paper bag, gloves, a scrap piece of plywood, liquid nails and a caulk gun.We chose to paint our plywood glossy white. But you can do whatever you want. I know you will anyways…

Place the mirror in the paper bag or wrap it in the heavy duty butcher paper. Gently tap the mirror with the hammer a few times.
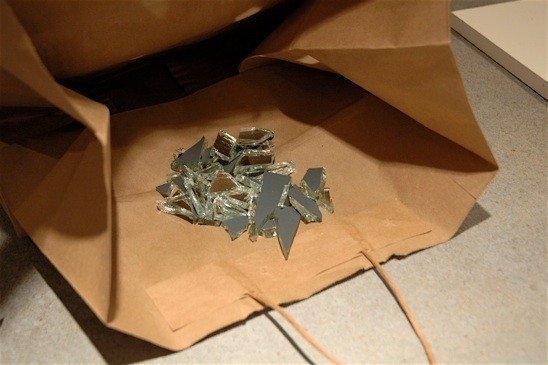
Open your bag to see what you’ve won. OOOH! You’ve won a broken mirror. How delightful!

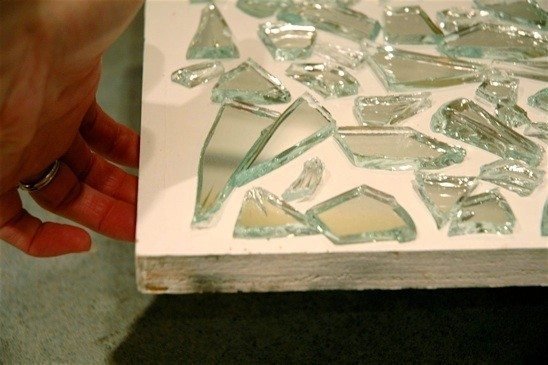
Carefully retrieve the pieces of mirror and arrange them on your plywood in whatever pattern you desire.
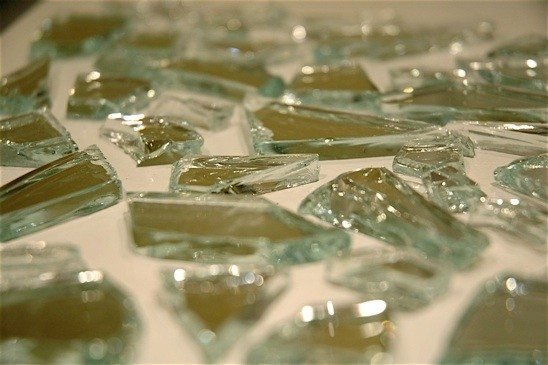
You’ll want several sizes of the mirror chunks-so don’t get overly particular about uniformity.
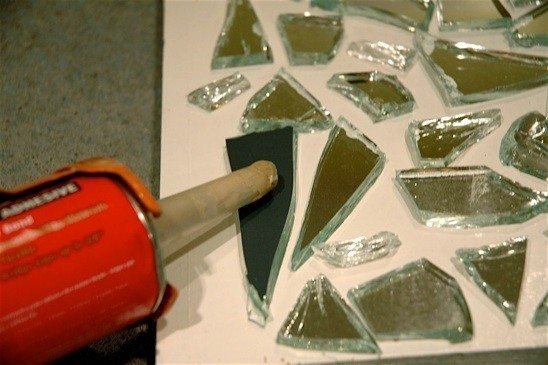
After you have arranged the mirror pieces to your liking, start liquid nailing those suckers down. Make sure you have a system so that you don’t forget a piece. I recommend putting a small square of blue painter’s tape on each piece and removing it when the piece has been glued down. I did not do this, as you can see. Big mistake.
Let dry for 24 hours. Before hanging it, test that you did glue all of the pieces down by gently raising the board up and tilting it.
If a piece falls out, don’t worry. Just re-attach with more liquid nails.
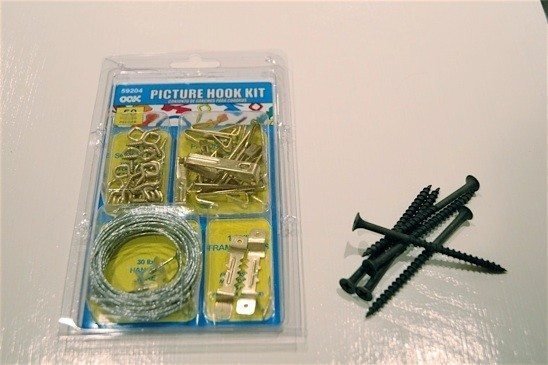
We used drywall screws and screwed our piece of plywood straight to the wall. Then I touched up the screw heads with more glossy white paint. You can also attach the mirror to the wall by using two eye hooks and picture hanging wire.
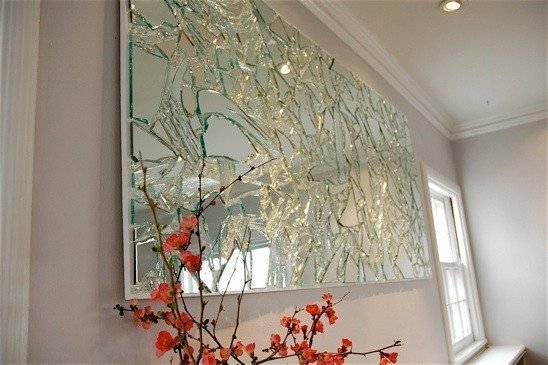
Then stand back and enjoy your work of art. You are bound to get some ooh’s and aah’s from this little project.