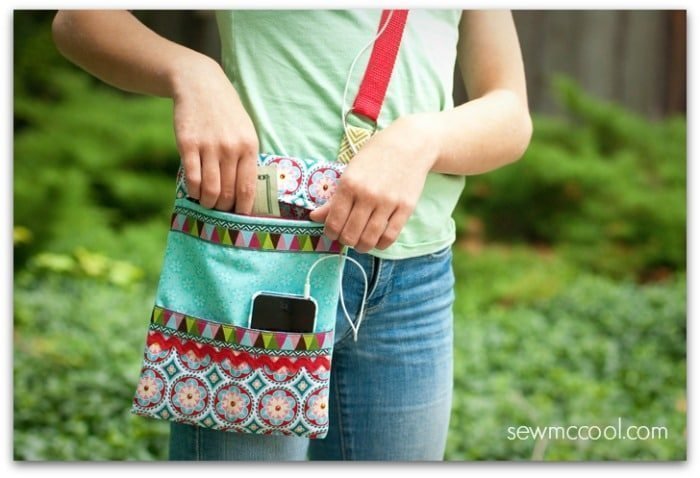
This post on how to sew a crossbody purse with a zipper.
My teen daughter (too young to drive) treks through a field and winds through another subdivision to buy trinkets at a local big-box retailer….
…but she doesn’t like big purses….
…and she likes funky accessories that aren’t overly girly because she’s a bit of a tomboy.
I knew I needed to sew a crossbody purse with a zipper for her to carry because it would lay flat against her body, and none of her important stuff would fall out!
This bag is based on a simple satchel found in The Book of Bags: 30 Stylish Projects for Beautiful Sewn Bags, (from my Amazon affiliate). I added embellishments and pockets and made a few other changes – essentially, I modified the bag to my daughter’s (and my) taste. It’s a common bag design that’s simple and fun to make!
WHAT YOU’LL NEED
* 1/2 yard each of two different fabrics, one for the main body and a contrast for the lining (and the above zipper and pocket details)
* 1/2 yard of fusible fleece
* A zipper, from 7-10in long, depending on the width of your bag
* 1 1/4 yards of 1-in wide webbing for straps
* 1/2 to 1 yard of different ribbons and trims
* 2 d-rings or rectangular rings that will accommodate your straps (at least the size of the webbing or slightly larger). I used 1in rings.
* Dritz WashAway Wonder Tape (from my Amazon affiliate).
* Water-soluble marking pen
* Sewing machine and regular sewing supplies, including a zipper foot and an iron
HOW TO SEW A CROSSBODY PURSE WITH A ZIPPER
Cutting and fusing Instructions
First, decide how wide your bag will be, and cut the width of the main outer fabric to 3/4in wider than your finished design, and the height by an inch or so less than twice the finished height (because the fabric will be folded in half to create the bottom of the bag). This doesn’t have to be exact since it’s a bag and not clothing. So, if you want your to bag to be 7in wide by 10in tall, cut your main fabric to 7 3/4in wide by 19in tall.
Cut you’re above the zipper bag fabric (the contrasting print) to the same width as your outer fabric. For the height, decide what’s pleasing to you for the finished piece. You can audition this by laying it on top of the main fabric to see how high you want it to be. Note that the height will affect your bag height, of course. In my example, the top piece was cut to 3 1/4in tall.
Cut the fusible fleece to the same dimensions as both the main outer fabric and the top bag fabric. Fuse it to the back of both pieces of fabric, using the manufacturer’s instructions.
Cut the lining fabric to 1/2in smaller – in height and width – than both your main fabric and the top bag fabric. You’ll have two lining pieces, just as you have two outside bag pieces (the main bag and the above the zipper fabric).
For the pockets, cut two pieces that are the same width as your outer bag pieces. Decide how tall you want them to be, and cut by this height plus 1/2in. One piece will show on the outside, and the other will be the pocket lining.
For the ring holders, cut two pieces of fabric into 3 1/2in squares.
Outer bag assembly
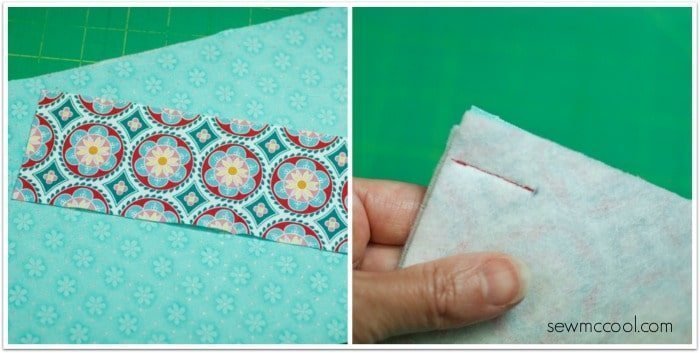
After you’ve fused your fleece to the wrong side of both outer bag pieces (main body and above-the-zipper), place the piece right sides together along one short side. Using a 5/8in seam allowance from the top edge, stitch on each end of the bag for only 1 inch. Make sure you backstitch at the beginning and end (second photo, below).
This will leave a long opening between the stitched ends. Using a long basting stitch on your machine – and not back stitching – sew between the previous stitching to temporarily stitch the opening closed.
Zipper installation
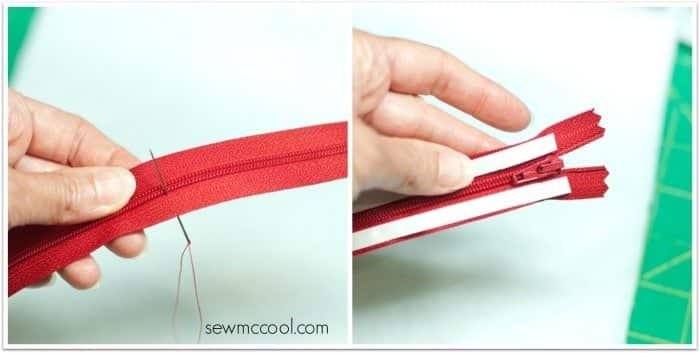
Prepare your zipper to be about 1/2in smaller than your finished bag, from the top of the zipper pull to where the zipper stops. I was given some YKK zippers from The Zipper Shop for this tutorial and needed to shorten a 10-in zipper, so I stitched a new “stop” myself and trimmed off the end. You can read more about shortening zippers in this post.
Stick the Wonder Tape to the top of the zipper, along both sides. You’ll pull off the second part of the double-sided tape in a moment, but set the zipper aside for now.
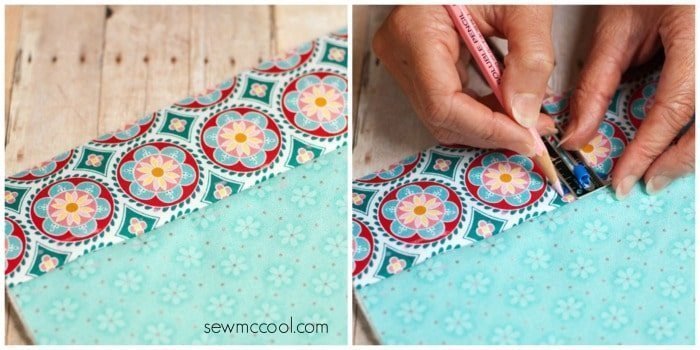
Turn your bag over so the right side is facing up. With a water-soluble marking tool, draw a line 3/8in from the seam you just busted, all the way around.
Remove the paper from the second sticky side of the Wonder Under tape and place the zipper on the wrong side of the bag (the side with the fusible fleece), with the zipper pull facing down. Make sure the zipper teeth are centered with the seam.
Now, snap on your zipper foot, and stitch on the line you drew, from the right side. When you’re finished, the zipper will be stitched in place. Open the basting stitches with your seam ripper and admire your work.
Pocket assembly
Place the pocket pieces on top of each other, right sides together. Sew with a 1/4in seam allowance along one long edge. Open and press, then fold along the seam so wrong sides are together.
Sew some trim along the top, folded edge. I used 7/8in-wide jacquard ribbons, and then I embellished the flowers on the pocket with some hot-fix crystals.
Zigzag or serge along the bottom edge so it won’t fray, and press it under by 3/8in.
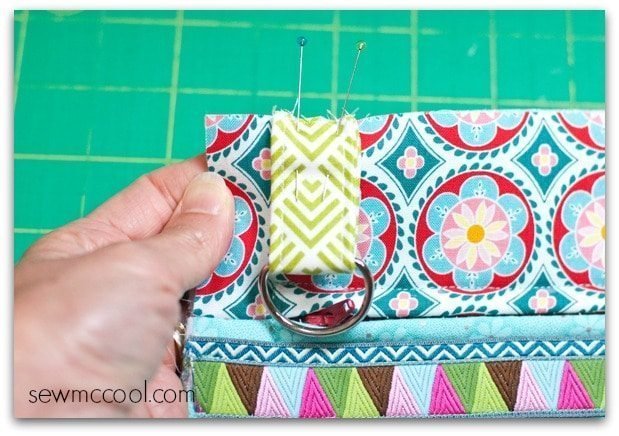
For the ring holders, use your 3 1/2in squares and follow the instructions in this post on how to sew ring tabs.
Loop through your D-rings, folding the holders in half them about 1in from the edge at the top of your bag. You’ll want to baste with a 1/4in seam allowance.
(you’ll see below that I added some ribbon below the zipper as well – yes, I love ribbon and trim!)
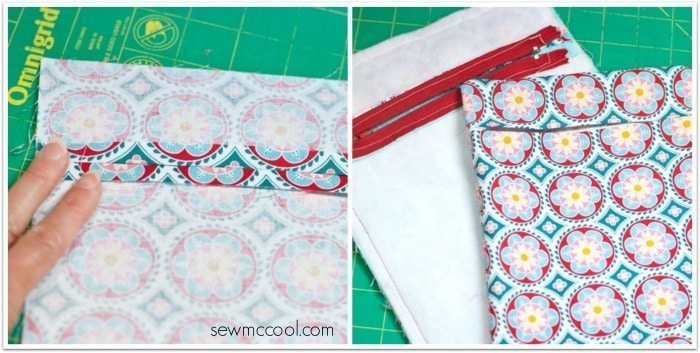
Now fold your bag in half, with wrong sides together, bringing the bottom up toward the top of the bag with the ring holders. Draw a line at the fold (first photo below).
Unfold the bag, and place your pocket face up on the front, lining up the bottom of the pocket (keeping the edge folded under) with the fold line. Top stitch in place.
Stitch a vertical line down the center to divide it into two pockets, making sure to backstitch at the beginning and end. This is now perfect for holding a cell phone!
Next – and this is important – open your zipper! Otherwise, you won’t be able to turn it right side out later….and that’s no fun!
With right sides facing, sew the three open sides of your bag with a 3/8in seam allowance, and clip the corners so your bag will look neat when you’re finished!
Sew the bag lining
Sew the lining the same way as you did the front of the bag – but this time sew 3/4in in from each side with a 5/8in seam allowance from the top. However, you don’t have to baste it closed this time.
Press the seams open as shown in the first photo below, and fold the lining so both short sides meet at the top, with right sides facing. Sew all three open ends with a 3/8in seam allowance and clip the corners.
Now turn the lining right-side out, but keep the front of the bag wrong-side out.
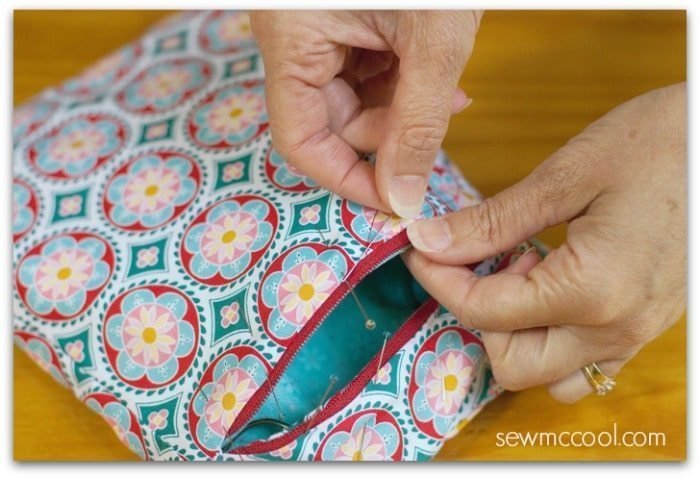
Your lining is smaller than your outer bag, but this is correct! Place your main bag inside the lining (it will kind of bunch up inside) so wrong sides are together. Line everything up at the zipper opening – don’t worry about the rest of the bag lining up now – and slipstitch the lining to the bag at the zipper opening along both sides, as shown below.
Turn your bag right side out and press (but be careful not to press on any of the trim, because it might melt…ick!)
Because this is a crossbody purse, decide where you – or your teen – would like the bag to hang. Measure this length and add about 2 inches – then cut the webbing to that length.
Loop the webbing onto the D-ring and stitch in place at both ends.
Slip in your phone (and some cash!), and enjoy the new crossbody purse.
As you can see – learning how to sew a crossbody purse with a zipper wasn’t tricky at all! And with this blinged-out version, you’re certain to get quite a few compliments, too.