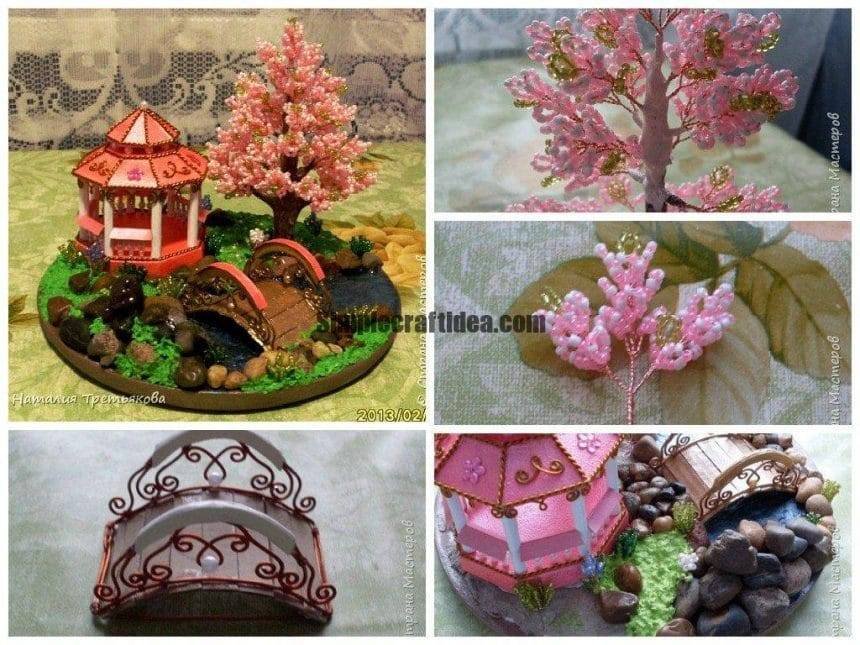
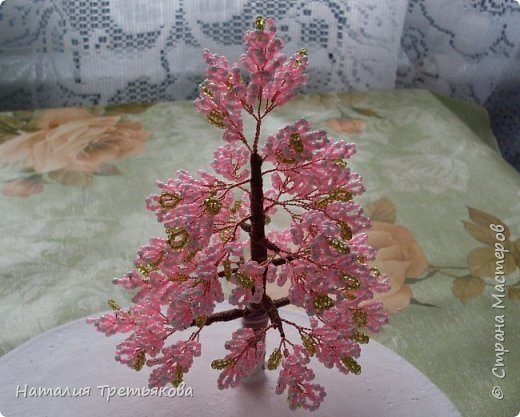
Spring composition
Hey there! At this time, I want to show you how I make a composition with trees of beads. In this article, so to speak, a few craft. I’ll tell you how to do the simplest tree of beads. This class rather for beginners. Then he’ll show you how I make bridges for their compositions. Well, then we collect all these pieces.

We need: beads white, pink and green number 11 (number 8 and can, if you do not like to mess with fine), wire cross-section of a tree about 0.2 mm, a very thin wire to create a grass and bushes thick 1 mm for bridge and trunk wood, glue, glue Titan, thick cardboard for the bridge, plaster, paint, toilet paper to create the terrain.
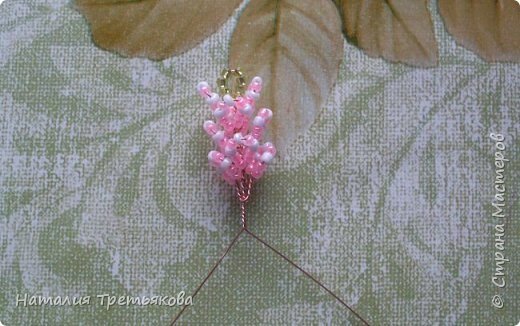
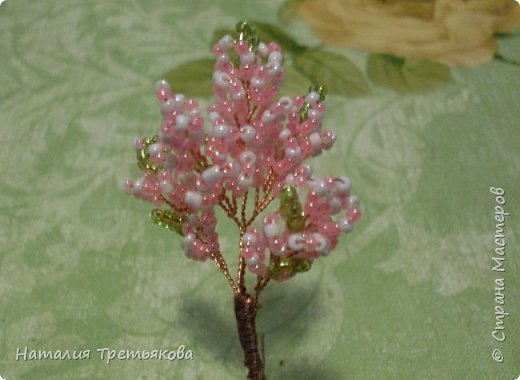
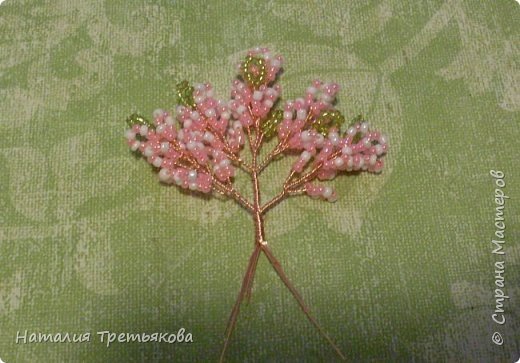
Let’s start … We print on a wire length of about 50-60 cm nine pink and white beads and twisted loop. If you want the tree to be pinker, the pink beads do more than whites. Then do the first central twig five pairs of eyelets. Occasionally, one or two loops on the twig make green.
Just do lateral branches, only after the first central loops make four pairs of loops. And twisting on the sides of the first branches.
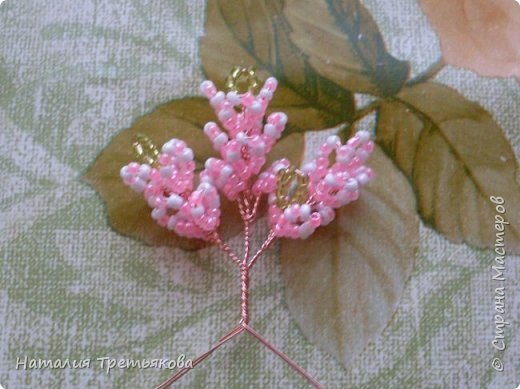
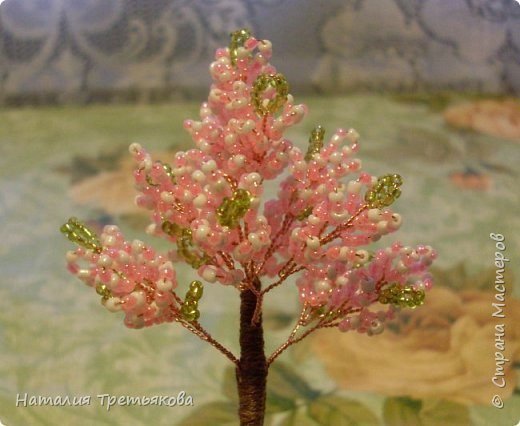
Do two more branches in the central and four pairs of loops and fasten them too in pairs to the main branch.
At this stage, you can take a thick wire and folded it in half, bolted to the main branch. So we will strengthen the trunk and do not use up a lot of fine wire.
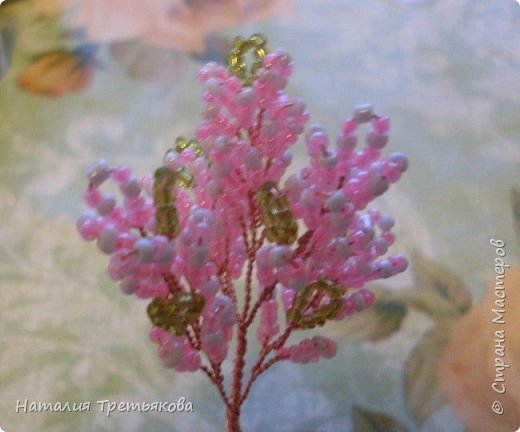
Then do like these six double branches.

Just fasten them in pairs on two branches. It turns three tiers of branches.
Further – that’s six such branches. The base of these branches can be enhanced with a thicker wire to the lower branches are getting fatter and fatter.
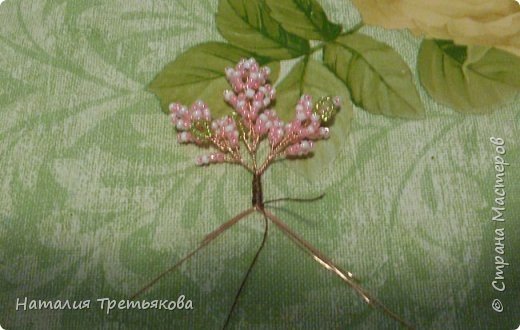
Fasten pairs and get the same three tiers of branches.
And the last stage we do here is two branches. Do not forget to increase their thicker wire and roll up thread.
Thread the lower tier. Protruding from the bottom wire to bend.
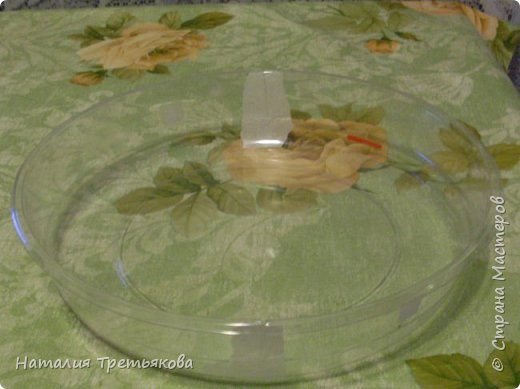
Take a suitable container for the “planting” of the tree in the plaster. Because the composition I would rather big, then the appropriate containers. Boca of the packaging in two places cut in advance to make it easier to extract frozen stand. These cuts were taped.
Direct the plaster consistency of liquid sour cream, pour and “planting” tree. You can advance to make a mark on the container level of gypsum. I have this mark made with a red marker.
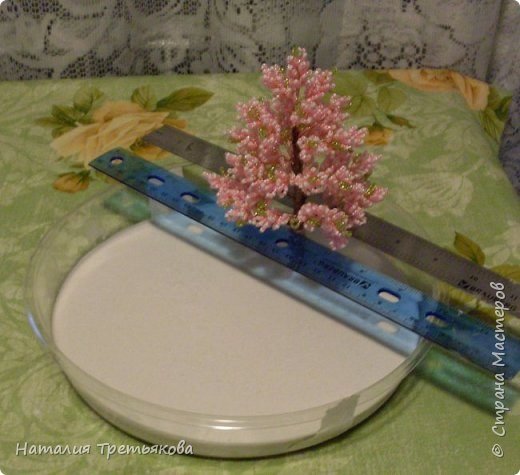
After the plaster grab, take out the stand and give it to dry. I land on the battery overnight. Here say, that remove the stand from the container is not in a hurry. It is better to wait at least an hour. I had a case when I hurried, and when you remove it from the stand fell on a piece still quite raw gypsum.
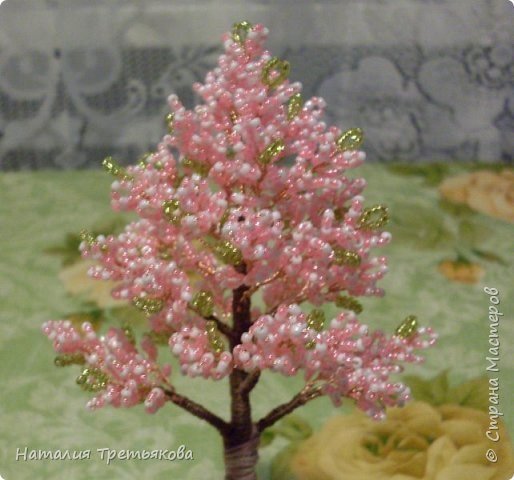
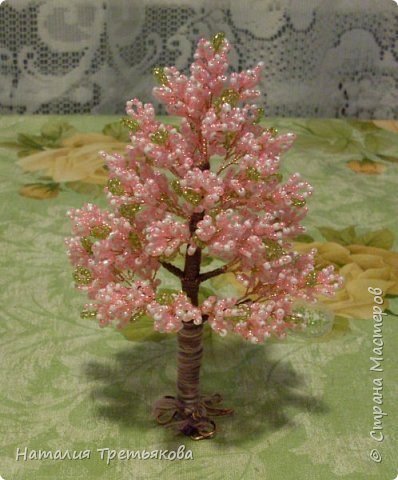
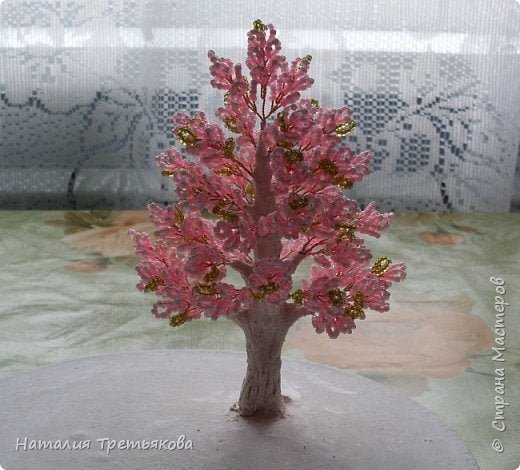
Now we need to make a barrel. I do it from a mixture of alabaster and PVA. Alabaster I receive, because it does not last longer sets and gives time to work on the trunk. Consistency of watery does, because top trunks smooth. And until you get to the bottom of the barrel, and the mixture begins to thicken already very bottom, and you’ll have more than rough. Then at the bottom of the barrel can be passed by any instrument and make grooves imitating the bark. Before working on the barrel, I omit all the branches down. Many MK I saw branches wrapped in foil to avoid staining. You can do the same. But I get to do it quite accurately and without foil.
Missed another span between the branches, I raise tier branches, which is below and smear on.
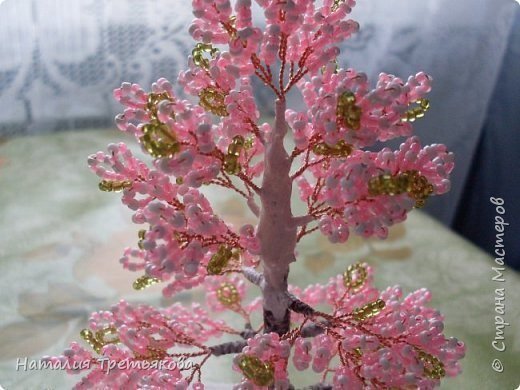
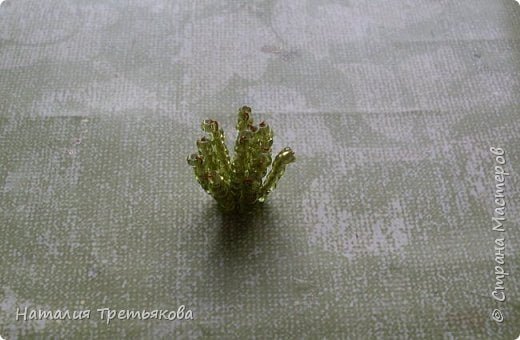
The tree is almost ready.
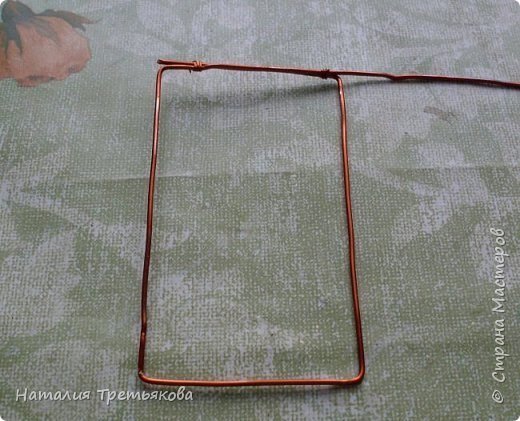
MK number 2 Now make the bridge. Of thick wire length of about 45-50 cm Gnehm just such a frame 8h4,5 cm. All fasteners are going to do, winding a thin wire.
On some banks are doing a round arch.
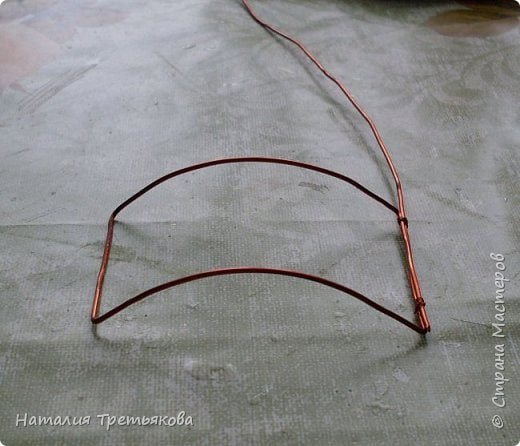
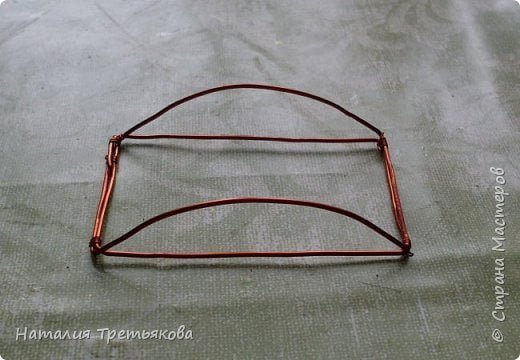
Then Gnehm wire on the bottom of the design to make it more rigid and does not wobble.
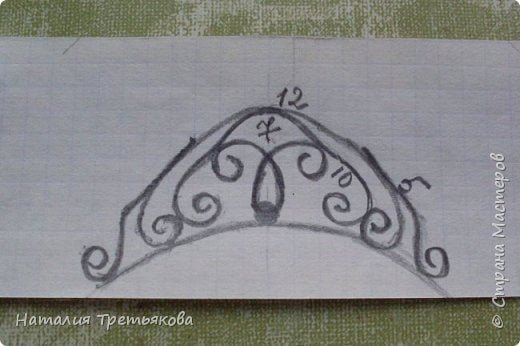
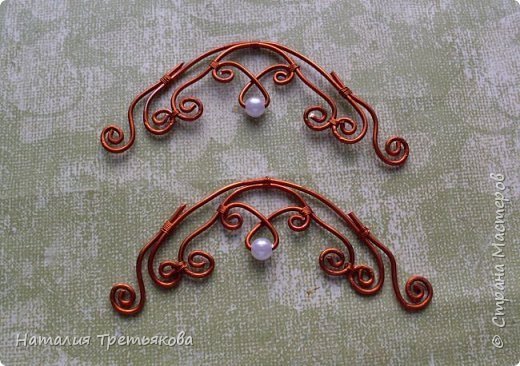
Here is a schematic drawing of railing made of the future bridge.
Gnehm necessary details. Immediately do the details on both rails, to combine them and make sure that they have reached the same.
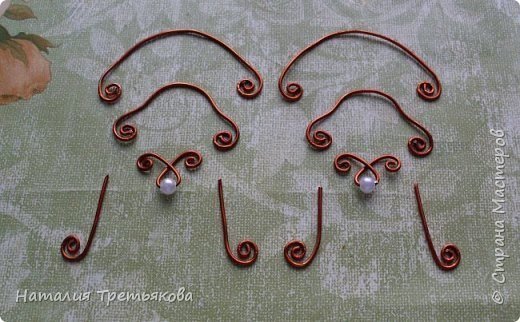
Connect them.
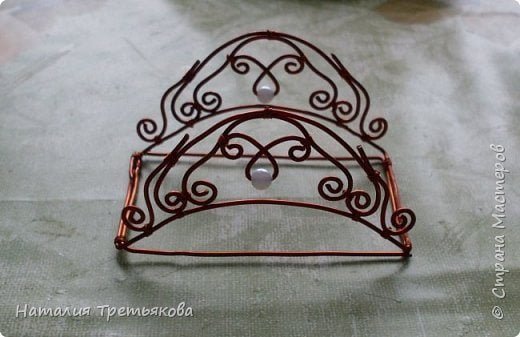
Fasten the railing to the base, align, that was all symmetrically, and we coat with white glue all the places that we tied a thin wire, and give dry well.
Glue the cardboard bottom “plates.” At the top of the form railing glue board and top gap between the cardboard. Once dry, paint the desired color.

Paint the tree and the sides of the stand. Mark up on the stand location of all major components and make grooves for bonding bridge.
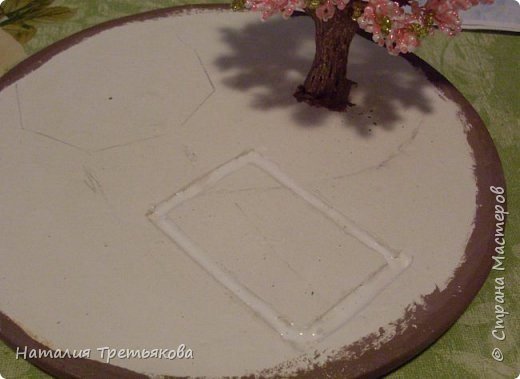
Glue the bridge, closing holes and wire on the bottom of the bridge putty. Putty doth a little relief for the future of the river. This photo shows that I started to paint “water” (first covered with black paint
Do clumps of grass from the beads.
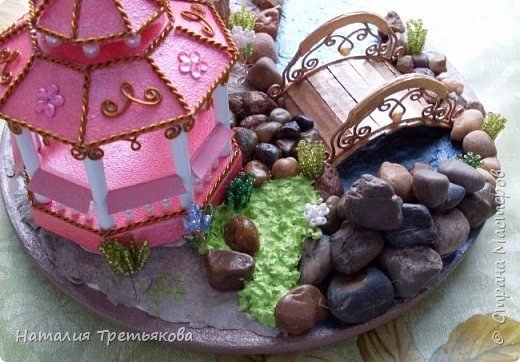
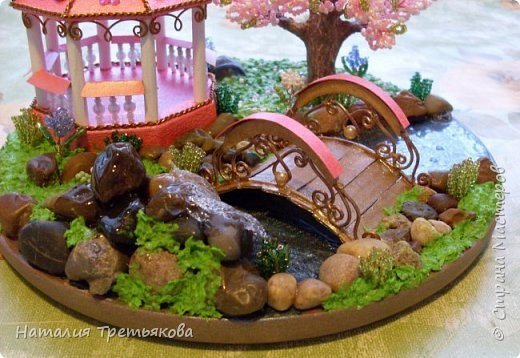
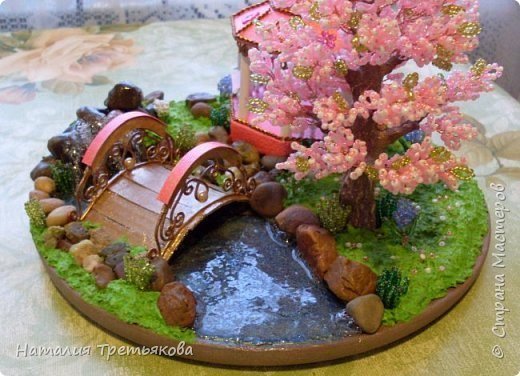
Paint the river, as we need to. Glue the stones along the banks of the river and, if desired, in other places. And paste flowers and grass made in the same looping technique.
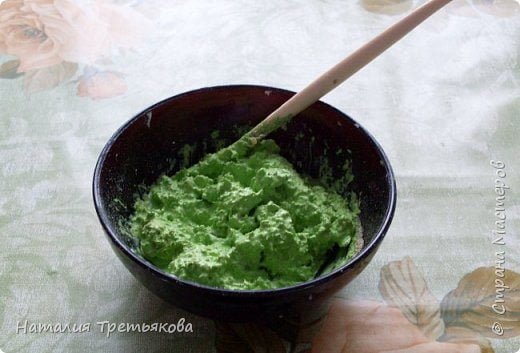
Then we need to cover all solid grass. I think that the idea of such a coating belongs to me because no one had ever seen. I’m doing a cover of painted wood chips not very large. First mix gouache with PVA glue. Pour chips. If there are no chips, you can use cereal – semolina or millet. Chips, of course, better, they have the effect of shallow grass. Well mixed.
Then this mixture gradually cover all the places where there should be grass. Begin to cover with hard to reach places. Doing all this stack as a spatula.
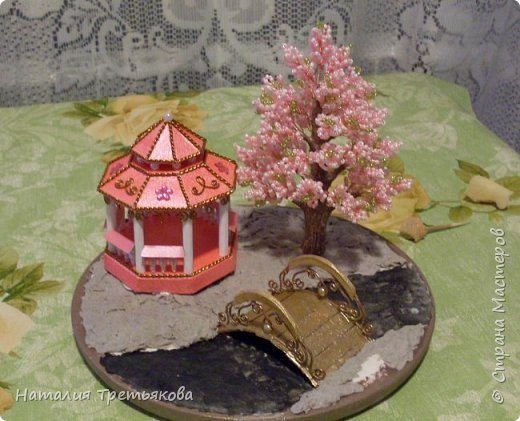
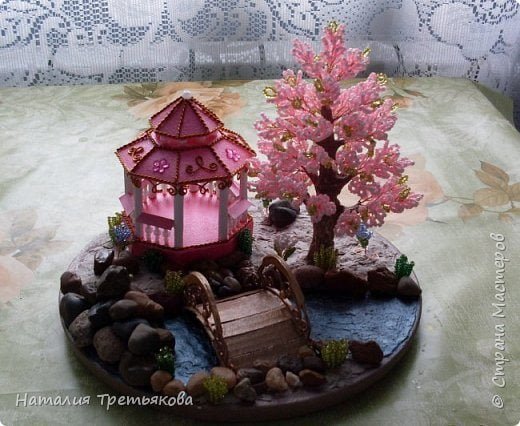
Then glue the Titans created waterfall and the effect of water on the river. As a result, we get just such a spring fairy tale.
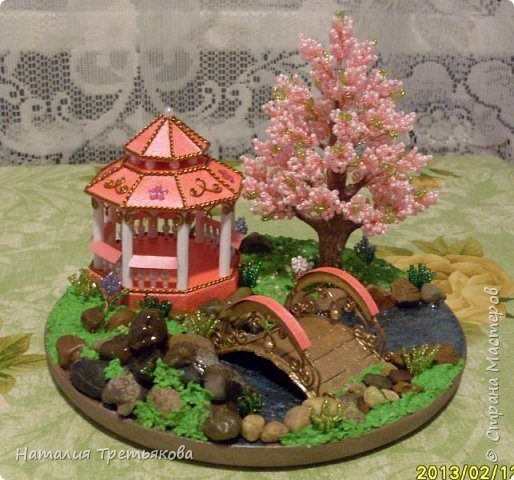
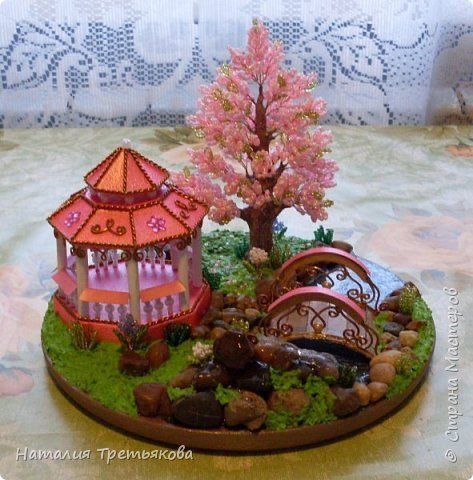

Well, finally finished